v6.08.01.350, B: 2023.01.11
HMI: MT8071iP
I have configured Triggered-based data sampling whenever a setpoint is changed. I also have security restrictions set, in order to enter a new setpoint. So, whenever the setpoint data is modified it is recorded, time stamped and displayed. I would also like to record and display the Current User Name (LW-10754) who made the change. I’m just not sure how to add it into the same chart (channels 1-6?)? Appreciate your assistance.
Hi @ProcessControl,
In order to sample the current username, you will need to transfer both the set-point and username into a set of consecutive registers. To accomplish this I would recommend that you use a “Data Transfer (Global)” object or a macro. Here is an example in which I demonstrate this process:
-
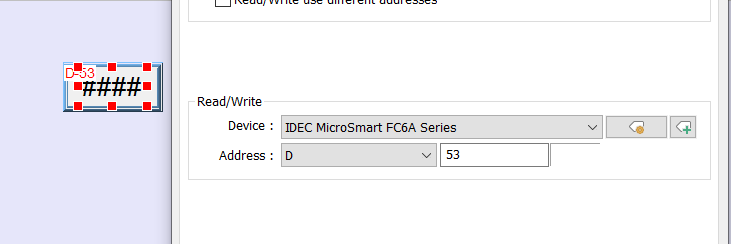
The set-point is mapped to register D-53 within an Idec FC6A PLC:
-
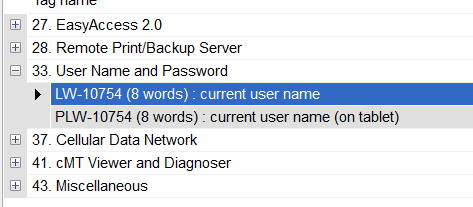
The current username is held within LW-10754:
-
The “Data Sampling” object for an iP series HMI can sample data that is contained within a set of consecutive registers. Therefore, we will need to transfer register D-53 and LW-10754 to an unused block of LW memory. To do this we can use the “Data Transfer (Global)” object:
-
Within the following menu, click “New”:
-
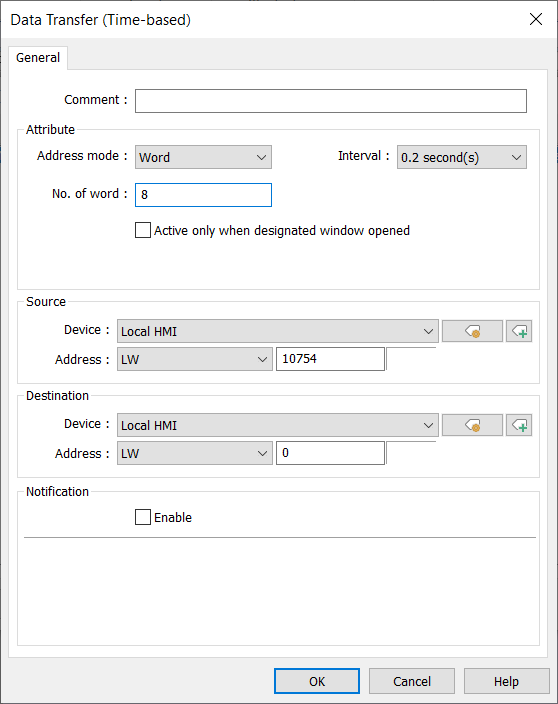
Transfer register LW-10754 to an unused register within the HMI:
Note: With this transfer, the LW-0 - LW-7 will hold the username of the current operator.
-
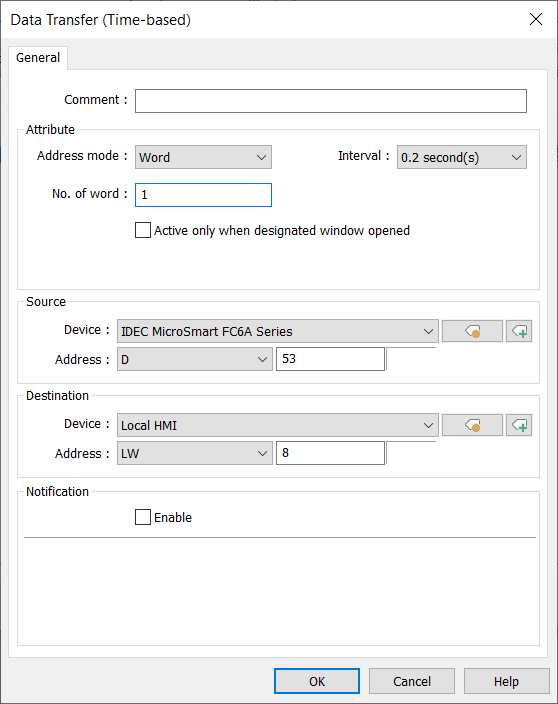
Click “Ok” and configure a second data transfer:
Note: With this transfer, the LW-8 will hold the current set-point.
-
When finished, re-configure the read address of the “Data Sampling” object to the first address within the set of consecutive addresses:
Note: Within this example the first address used is LW-0.
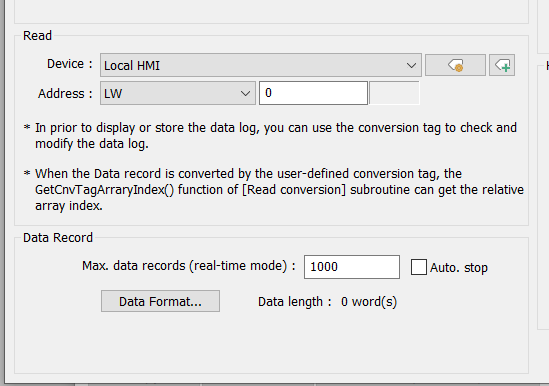
-
Configure the first member within the “Data Format…” to read 8 words of string data:
-
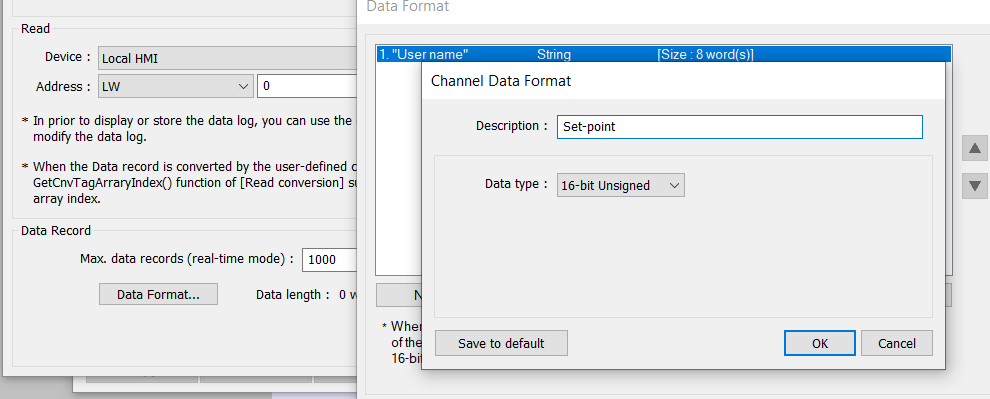
Configure the second member within the “Data Format…” to read the set-point:
-
Save this configuration and download this project to the HMI for testing.
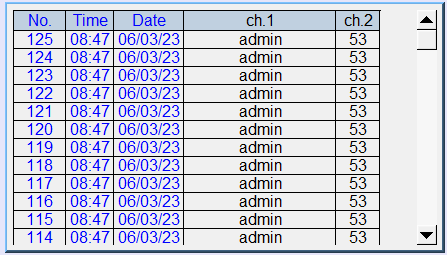
Note: Here is an example of a how this data may be displayed within a “Historical Data Display” object.