Introduction:
In this post, we’ll discuss setting up a template window. This is a pre-designed layout where objects are fixed in position, allowing for easy replication across multiple windows with different control addresses.
Software Version:
EasyBuilder Pro 6.09.01+
Instructions:
-
Begin by creating a new window, which will serve as our template window. If you don’t see the “Windows Tree” tab on the left, go to the “View” tab and select “Windows Tree”:
-
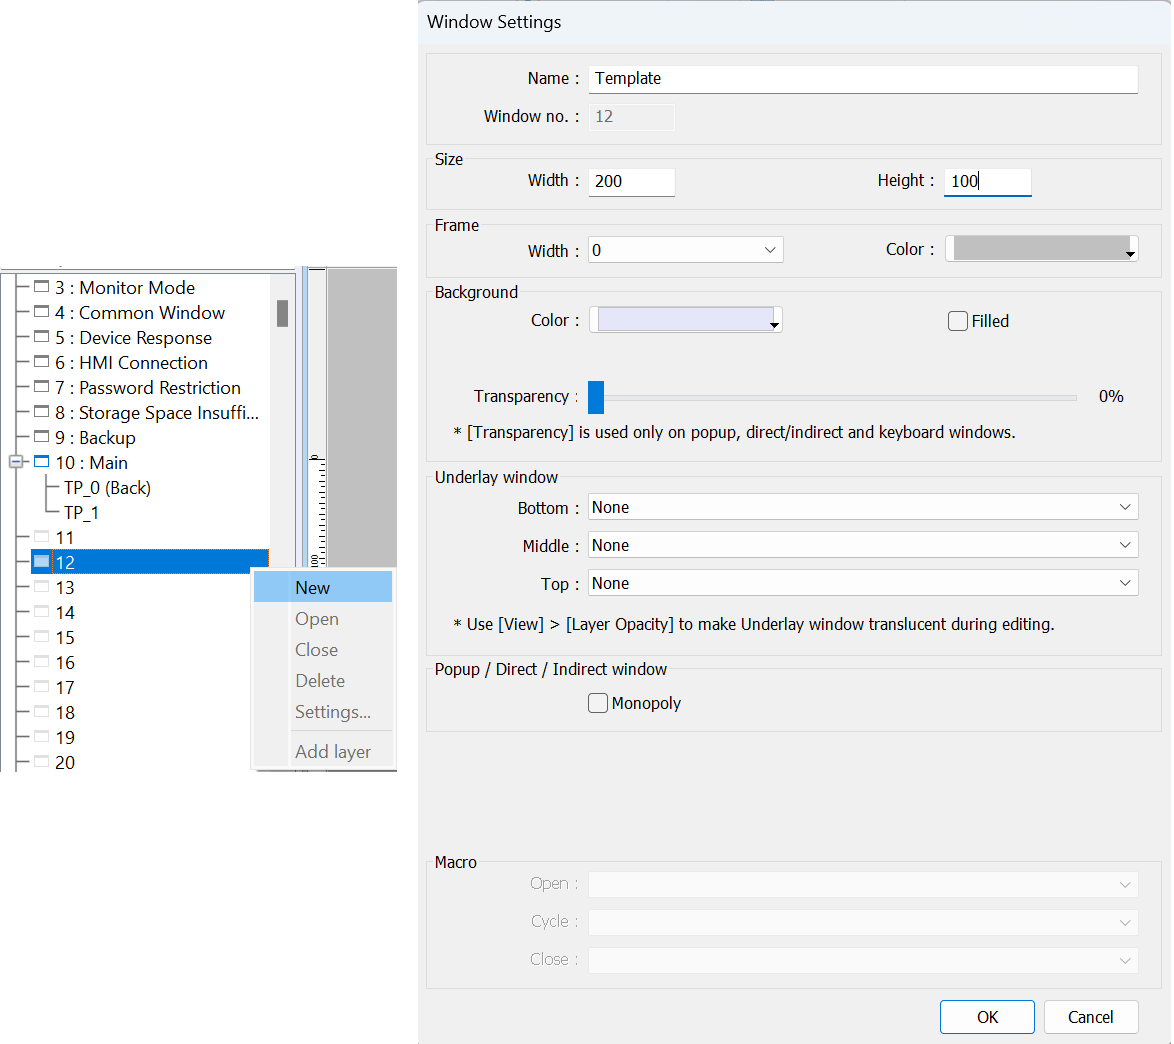
Highlight and right-click an available window and select “New” to create a new window. We will build our “Template” object using this window. Within this demonstration, we’ve named it “Template” and resized it to 200 x 100:
-
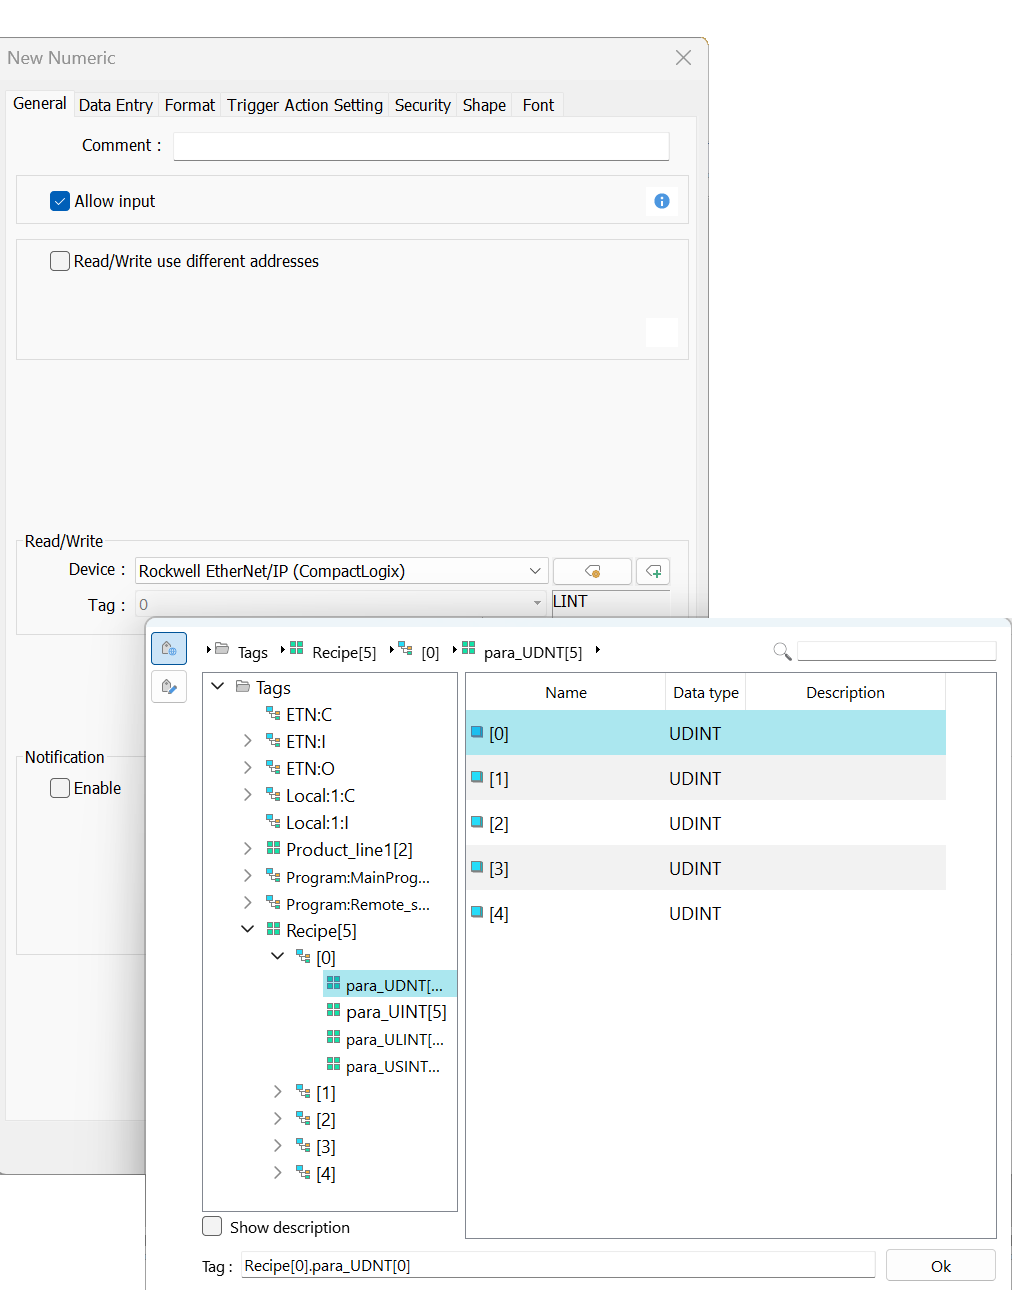
Within this demonstration, I am going to add a “Numeric” object to our “Template”. To do this, I’ll select “Numeric” within the “Object” tab and assign the “Read/Write” address to a sample tag that I’ve imported using our “Rockwell Ethernet/IP (CompactLogix) - Free Tag Names” driver:
-
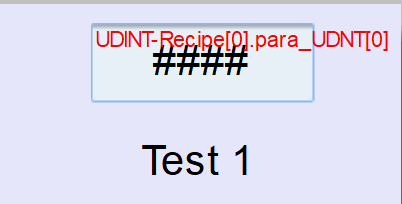
I will also add a “Text/Comment” object labeled “Test 1”:
-
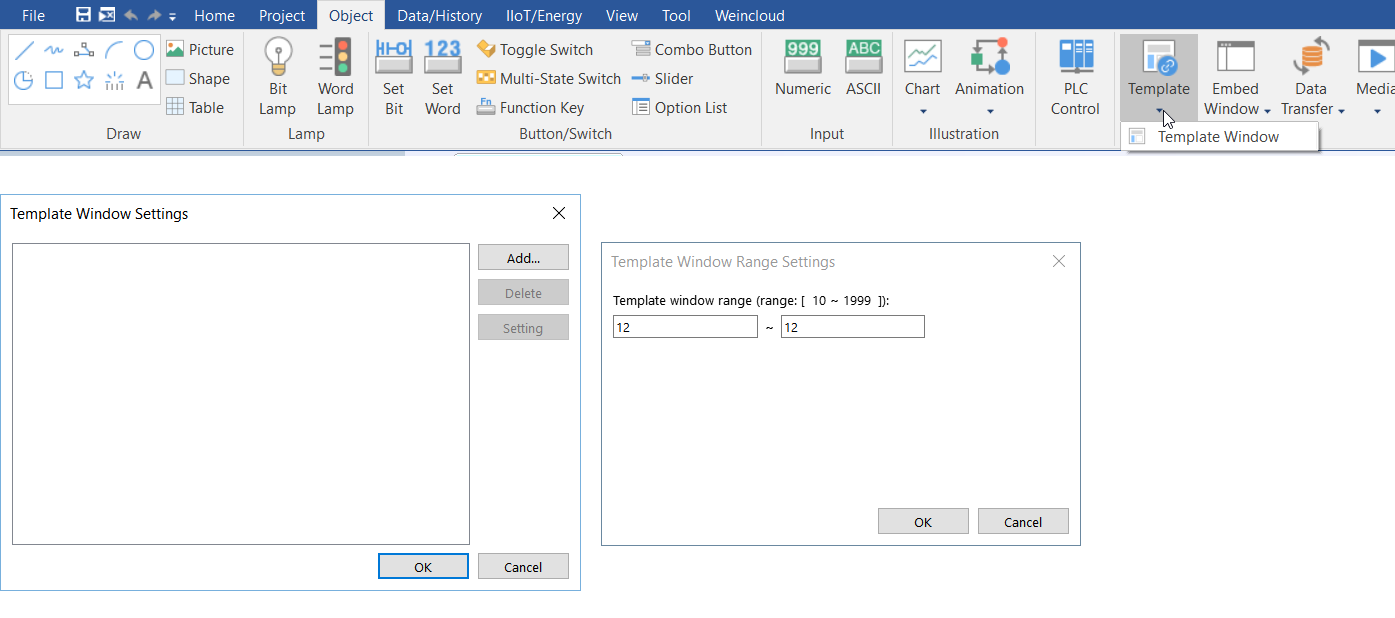
In the main window, navigate to the “Template Window” dropdown list (click on the downwards arrow) within the “Object” tab. Select “Add”. Specify the range of template windows you want to select. Within this demo, we’re only working with window 12, so I’ll define the range as 12~12. Then, select “OK” and exit this window:
-
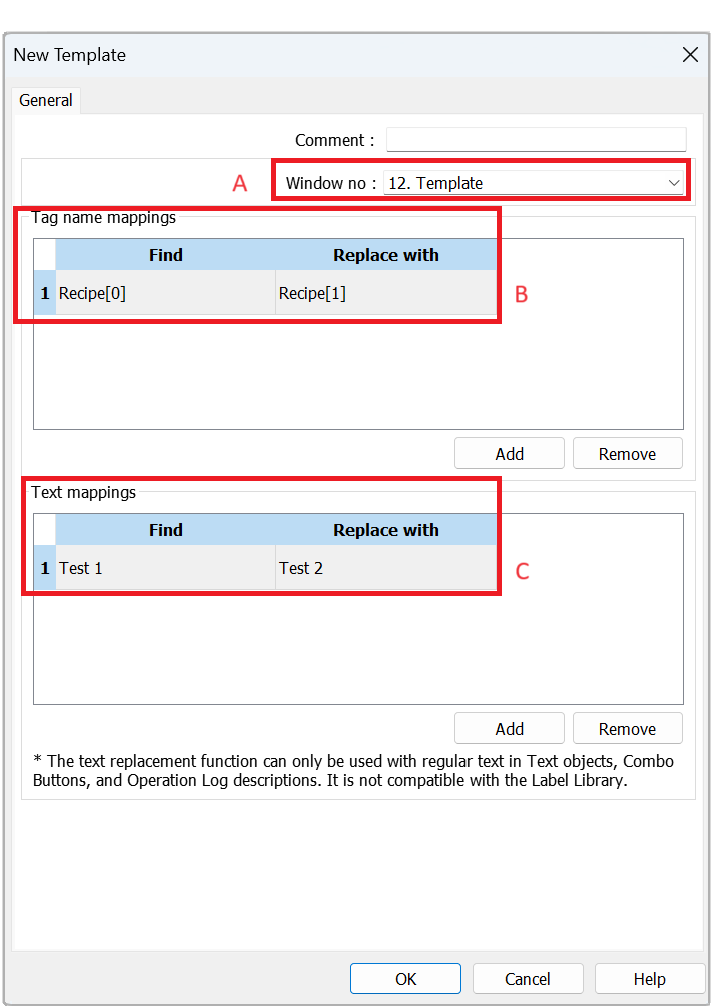
Click on the “Template” icon to place down the “Template” object that you’ve created. Select the correct “Window no.” in field (A). To change the user-defined tag to a new tag, in field (B) “Tag name mappings”, select the tag you want to change in the “Find” section, and in the “Replace with” section, enter the new tag. Similarly, you can change text within the “Text mappings” (C) field:
Note 1: The “Find” and “Replace with” feature is only compatible with user-defined tag name imported from your PLC project or those that were added within the “Address” library of EasyBuilder Pro.
Note 2: The “Find” and “Replace with” feature is only compatible with static text and cannot be used with labels in the label library"
-
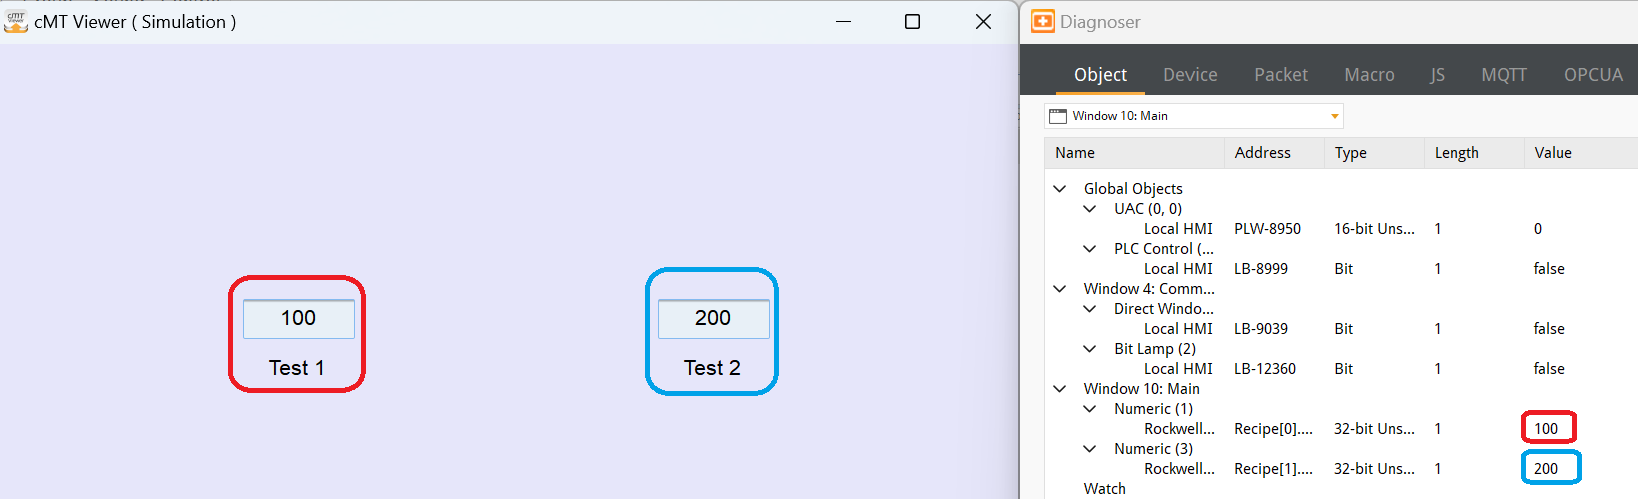
During runtime, the tags and text substitutions will take effect as in the demonstration below: