Introduction:
In this post, we discuss how how to use a “Picture View” object to view pictures on a USB drive.
Software Version:
EasyBuilder Pro 6.03.02.463+
Instructions:
-
Within the “Object” tab select the “Media” icon and create a “Picture View” object:
-
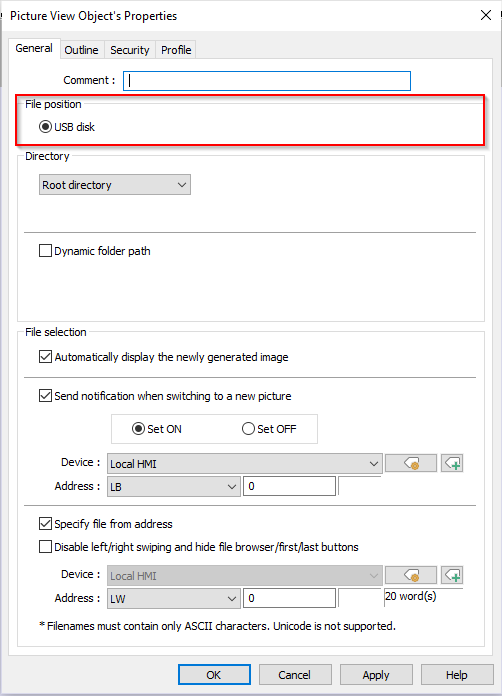
Within the “General” tab of the “Picture View” object, select the desired “File position”:
-
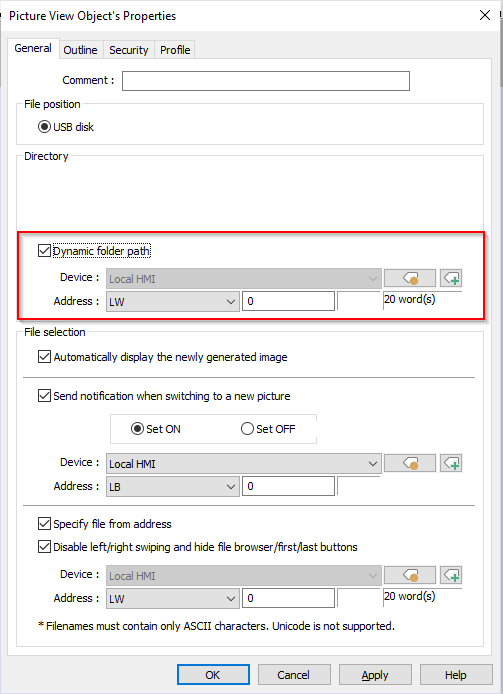
Within the “Directory” section, you can specify the folder or path where picture files will be stored. You may choose to display files stored within the “Root Directory”, “Screen Hardcopy”, or “User-defined”. If you select “Dynamic-folder path”, you can designate a folder path via a local address.
-
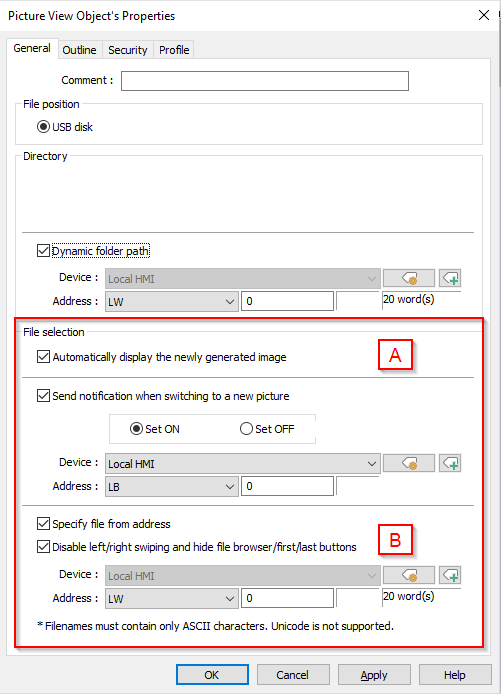
In the “File selection” section, you have the option to (A) “Automatically display the newly generated image” if you would like to do so. (B) Furthermore, if you select “Specify a file from address”, the displayed image may be designated via file name in a local address:
-
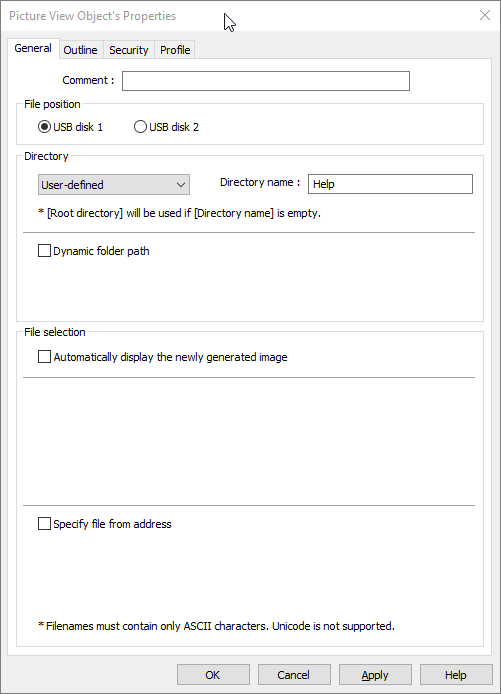
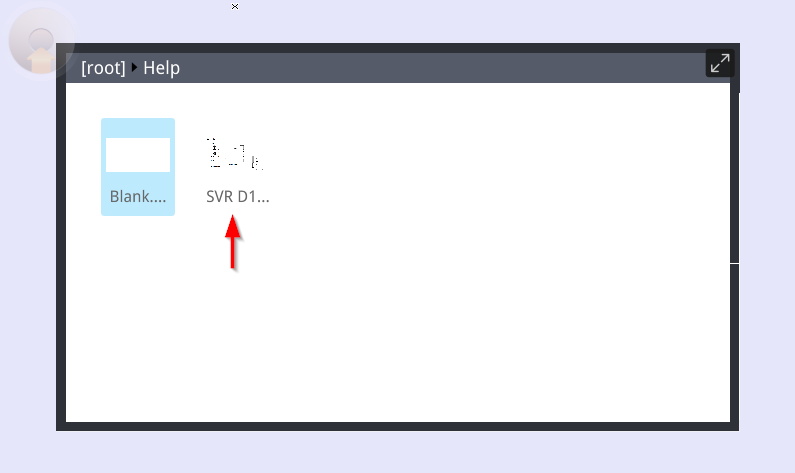
Within this example, we will use the UI to select and view an image within our USB. The image will be located in a folder on our USB titled “Help”:
Note: The settings below were used to design the object shown in later steps.
-
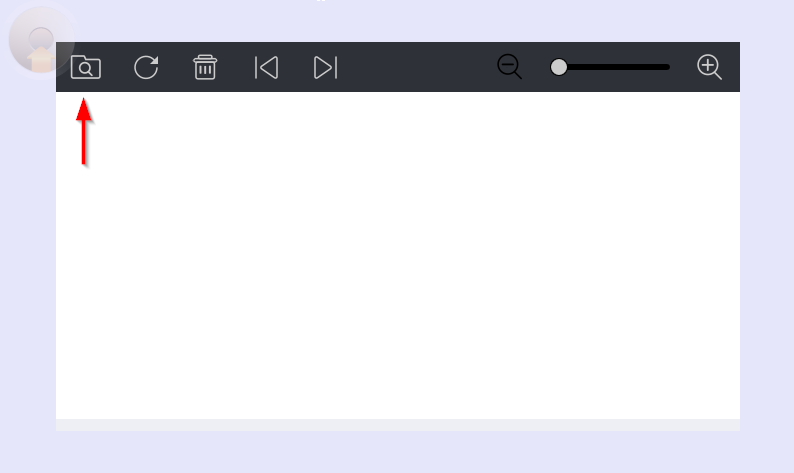
During runtime, click the “Picture View” object to display the built-in tool bar:
-
Within the tool bar, click the “File” option to open the file explorer:
-
Select an image to display it within the “Picture View” object:


Note:
The supported picture formats are: .jpg, .bmp, .gif, .png