Introduction:
The word lamp is a powerful visualization tool. In this post, we explain how to design and use multiple picture-based states with this object.
Software Version:
EasyBuilder Pro 6.03.02.463+
Instructions:
-
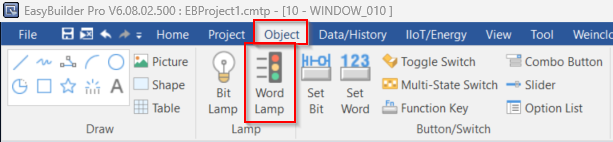
The “Word Lamp” can be found in the “Lamp” section of the “Object” tab:
-
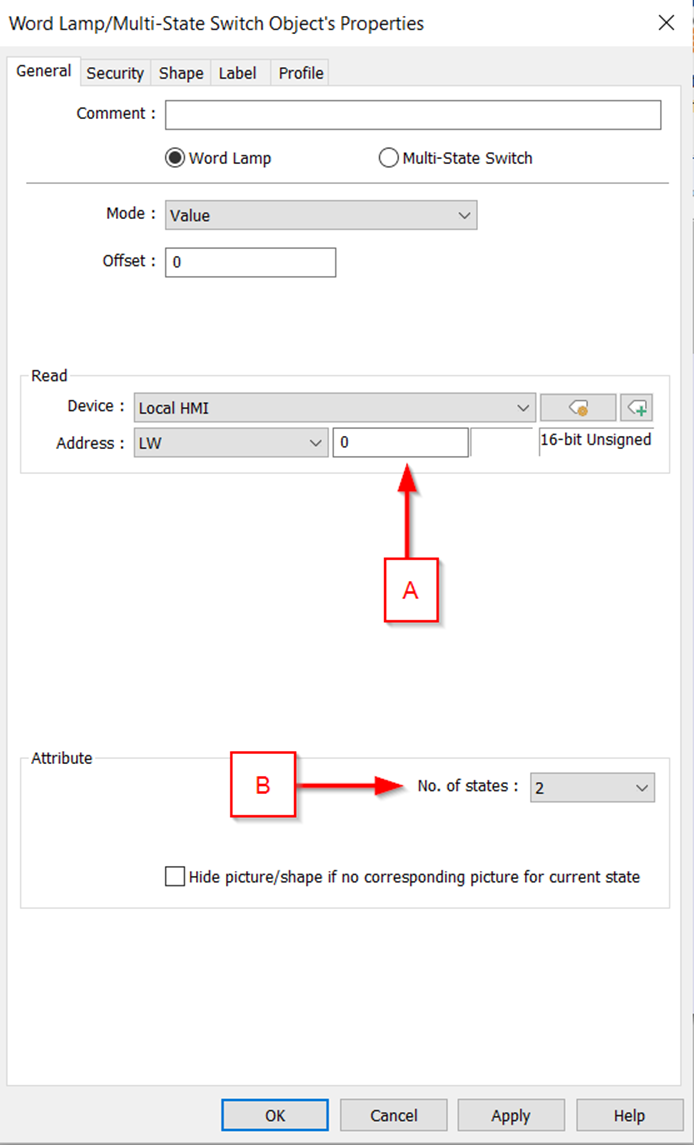
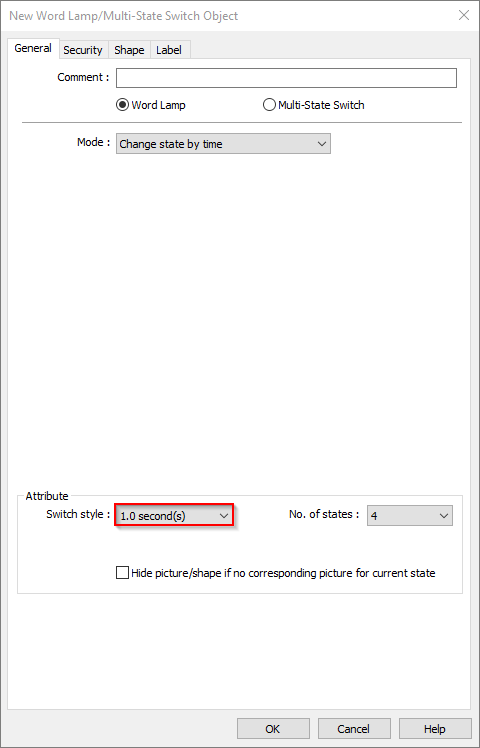
In the “General” tab of the “Word Lamp” object, you can configure the (A) “Read” address of the object. To add more states to this object, specify the “No. of States” within the “Attribute” section:
-
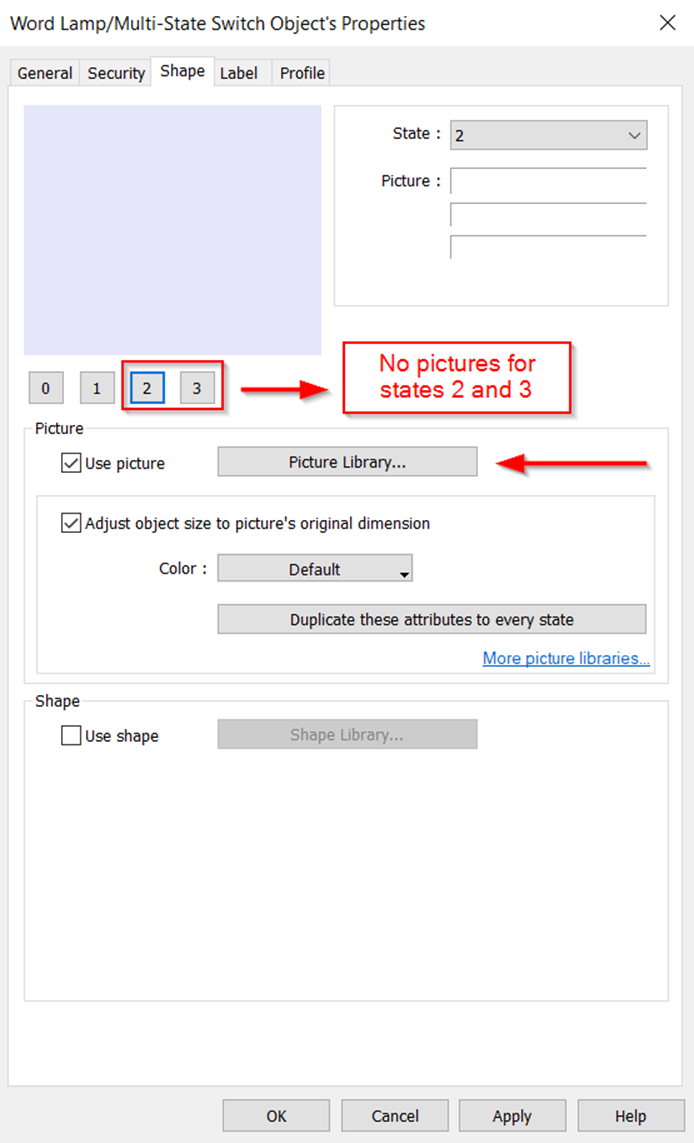
Within the “Shape” tab, we will assign a picture to the states that we have added. To do this, select the “Picture Library” button:
-
After opening the picture library, select a picture that you would like for your word lamp. This first picture will represent the first state of your object. After finding one, select the picture and press the copy button:
-
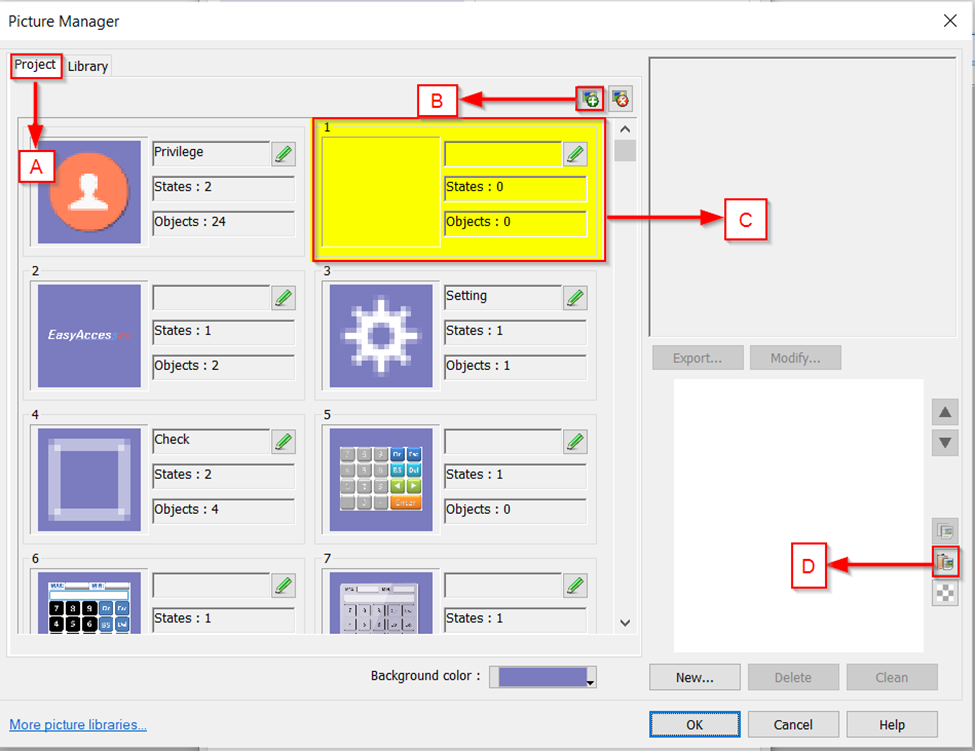
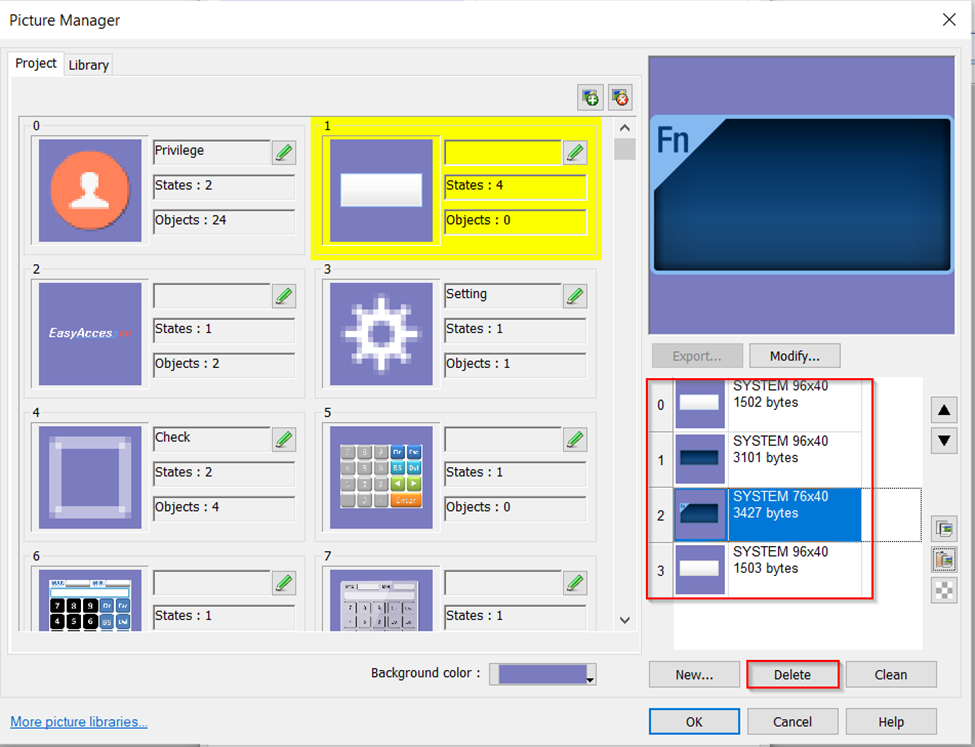
Next, switch to the (A) “Project” tab at the top left of the window. Then select (B) the “Add New Picture” button. This creates (C) an empty picture. Within the newly created picture select (D) “Paste” to add the picture you copied in step 4. This will set the pasted picture as state 0 of the “Word Lamp”:
-
Repeat these steps until you have enough pictures for the amount of states in your “Word Lamp” object. If you need to remove a picture from this image group, select the picture and press delete. When done select “OK”:
-
When the above steps are complete, you will see the new pictures as states within your “Word Lamp”.

Notes:
Within the “General” tab, “Mode” allows you to change the way the object’s state changes:

-
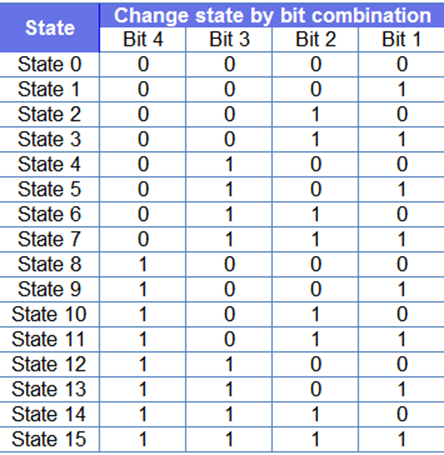
LSB: Converts the decimal value to binary. The state then changes depending on how many bits are active. See bit combination guide below:
-
Bit combination: A max of 16 states determined by the designated bit address:
-
Change state by time: Allows you to change the state of the object based on the time interval chosen from the “Switch Style” drop-down list:

Note: Here is a demo project that you may use to test and compare these features: Link