Introduction:
In this post, we demonstrate how to display the upper and lower entry limits within a numeric object.
Software Version:
EasyBuilder Pro 6.03.02.463+
Instructions:
-
Select a “Numeric” object within the “Input” section of the “Object” tab:
-
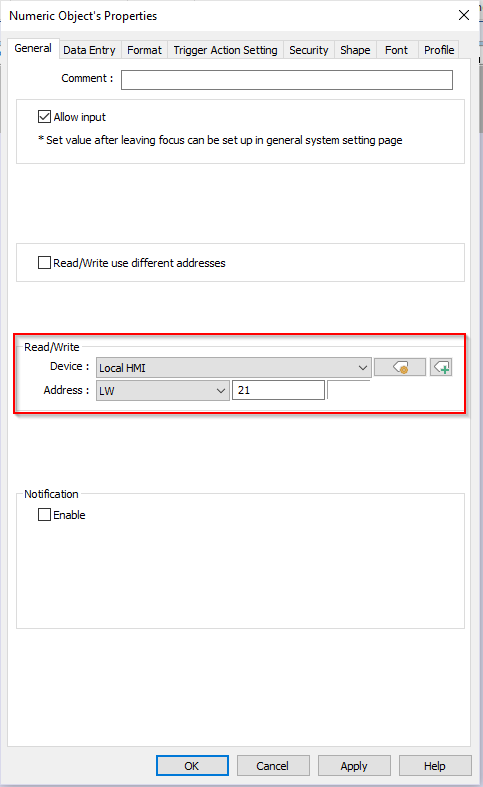
Within the “General” tab, define the “Read/Write” address:
-
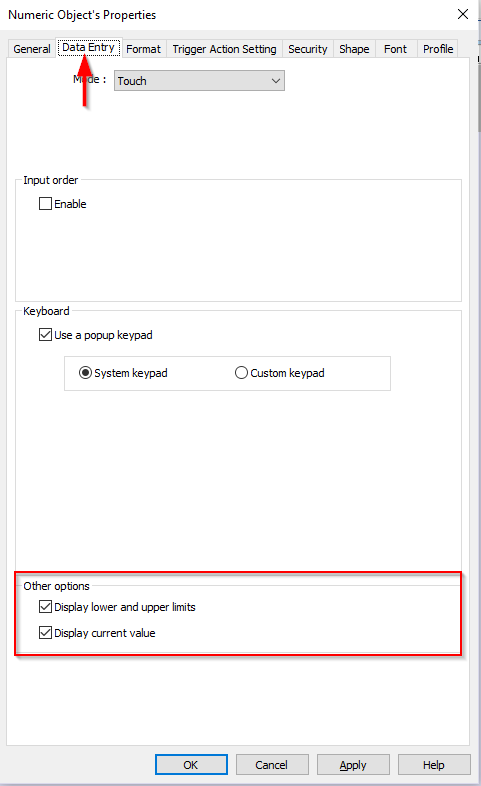
Within the “Data Entry” tab, select the “Display lower and upper limits” selection box:
Note: “Display current value” will display the current value within the “Read” address.
-
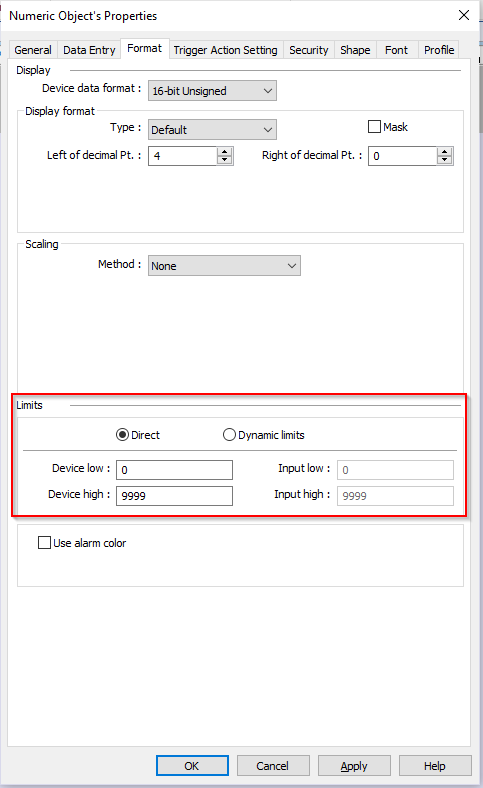
To change the upper and lower limits of the object, navigate to the “Format” tab and update the “Device Low” and “Device High” fields:
-
When the “Numeric” object is selected, a window will display its “Range”. “Current Value” will also show up within the same box if “Display current value” was enabled: