Introduction:
Weintek’s cMT and non-cMT series HMIs share many similarities, but also have their fair share of differences. When establishing connectivity between the two, you should be aware of these subtle differences that make them unique. Follow the instructions below to establish communication between a cMT and non-cMT HMI. More specifically, an eMT3120A and a cMT3152X.
Software Version:
EasyBuilder Pro 6.03.02.393+Instructions:
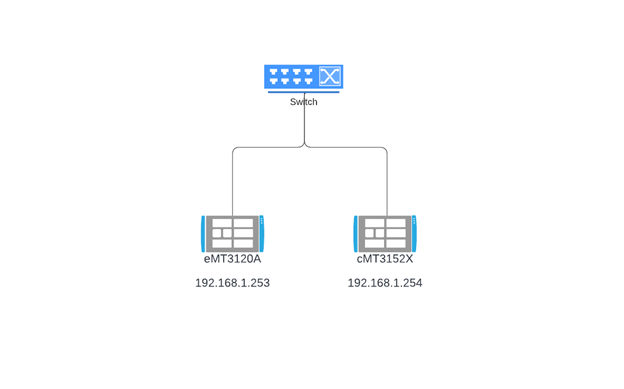
For a cMT and non-cMT HMI to communicate, they must be on the same subnet and have their own unique IP address - this is also the case with HMIs of the same series. For this demonstration, the two HMIs are communicating through an ethernet switch.
Topology:
Non-cMT network settings:
-
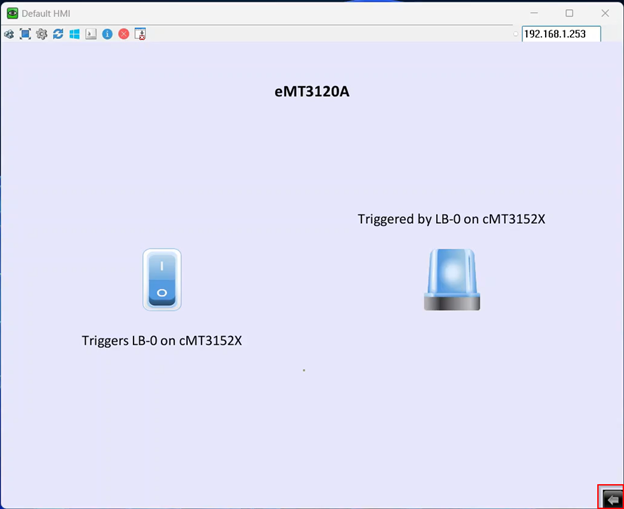
In a non-cMT series HMI, the settings button is located on the bottom right of the HMI screen. Select it to access the device’s network settings.
-
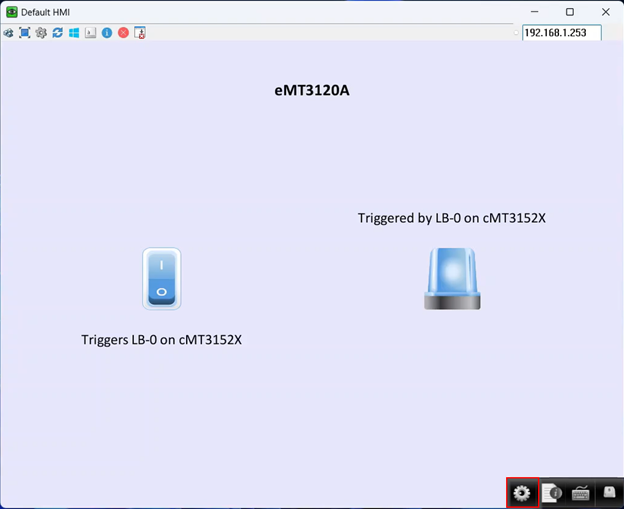
Next, navigate to the settings icon.
-
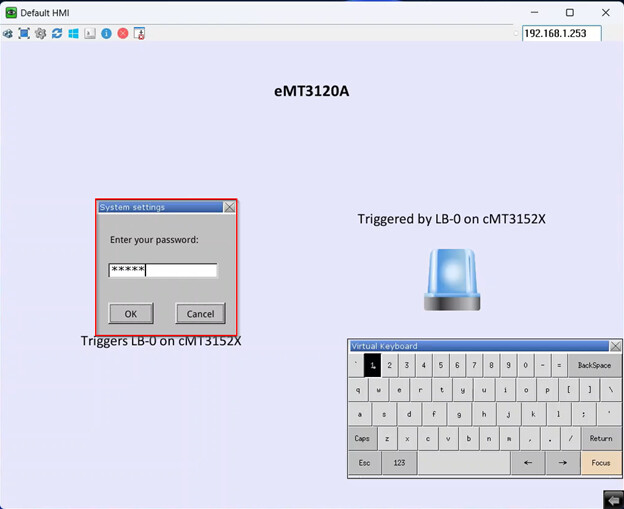
You will be prompted to enter the HMI’s password. 111111 is the default password for all Weintek HMIs.
-
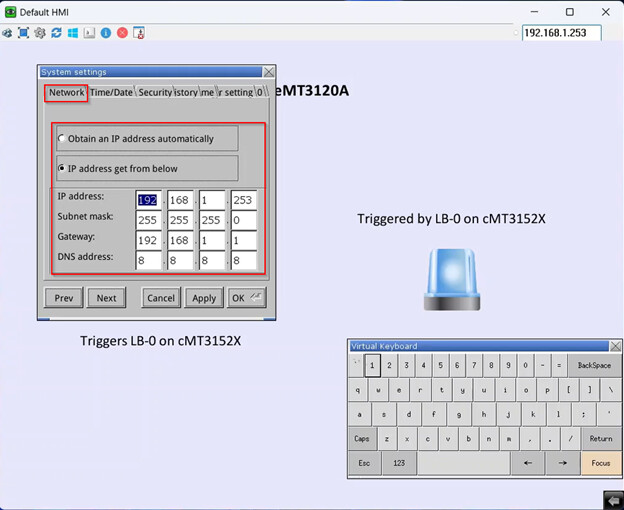
In the network tab, you can statically assign network info, or you can obtain an IP address automatically via DHCP server. Click “OK” when finished.
cMT network settings:
-
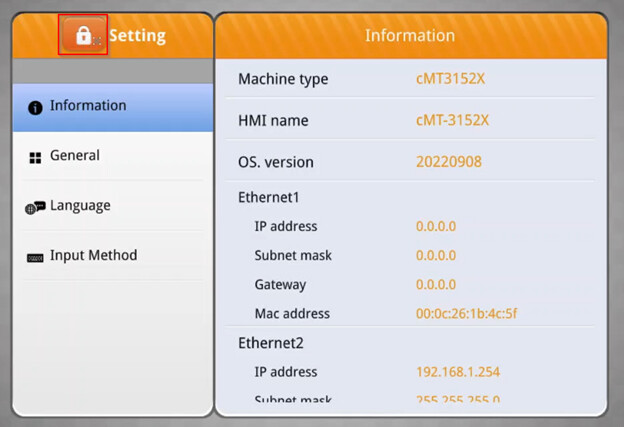
On a cMT series HMI, the settings button is located on the top left of the HMI screen:
-
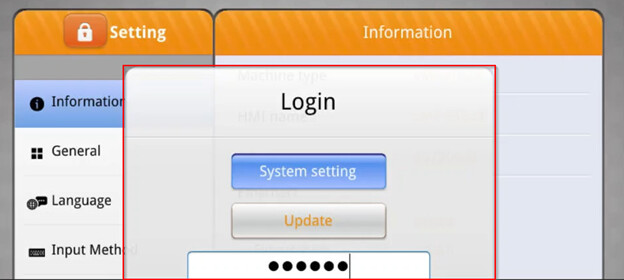
To edit network settings, select the lock icon and enter the HMI’s password. The default password for a Weintek HMI is 111111:
-
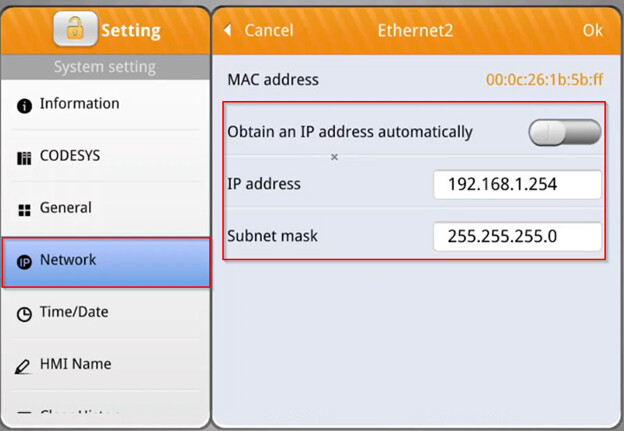
After entering the password, navigate to the “Network” tab and select the Ethernet port in which you would like to configure network settings. From here, you can statically assign network info, or you can obtain an IP address automatically via DHCP server. Click “Ok” when finished:
Non-cMT series EasyBuilder Pro project:
-
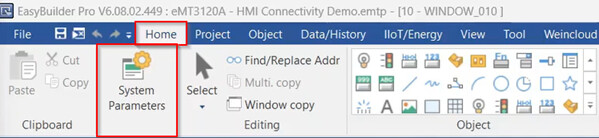
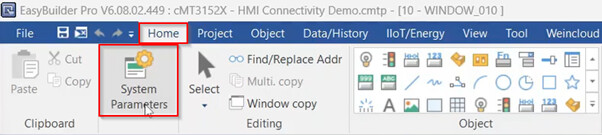
Within the “Home” tab, select “System Parameters”.
-
To add the remote cMT series HMI that you would like to communicate with, within the “Device” tab, select “New Device/Server”:
-
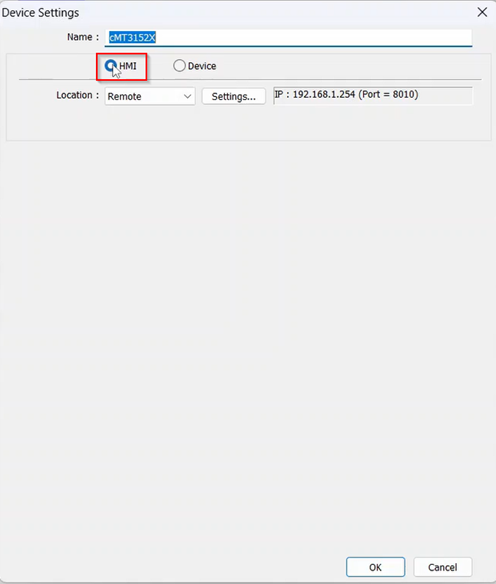
On the following “Device Settings” pop-up, select “HMI”:
-
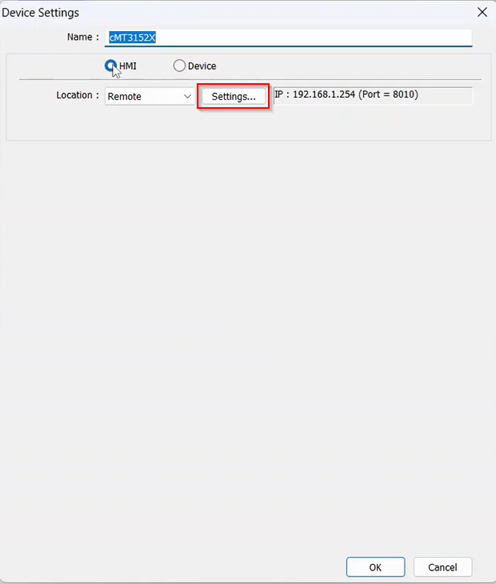
Next, select the “Settings” button to configure device IP address and port number:
Note: The port number must be the same when configuring both HMIs.
-
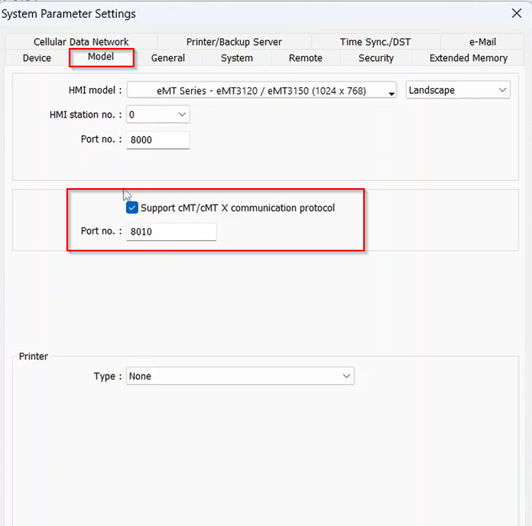
Now that the remote HMI has been added and the IP address configured, select the “Model” tab. Because the remote HMI is a cMT series, “Support cMT/cMT X communication protocol” must be enabled. The port number should auto populate:

cMT series EasyBuilder Pro project:
-
Within the “Home” tab, select “System Parameters”:
-
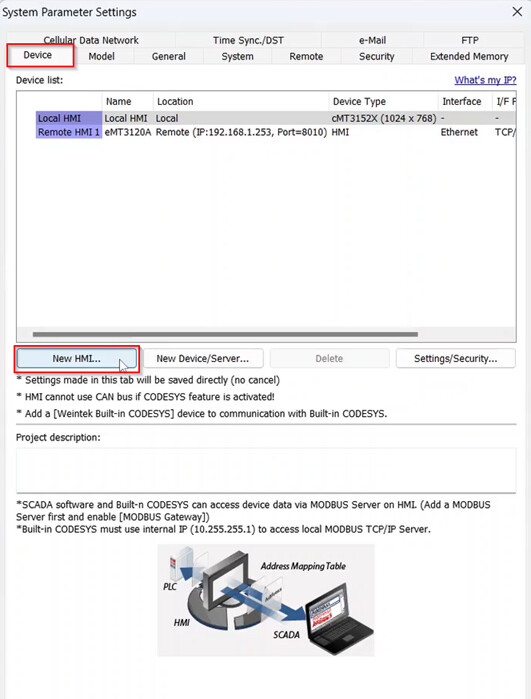
Within the “Device” tab, select “New HMI”:
-
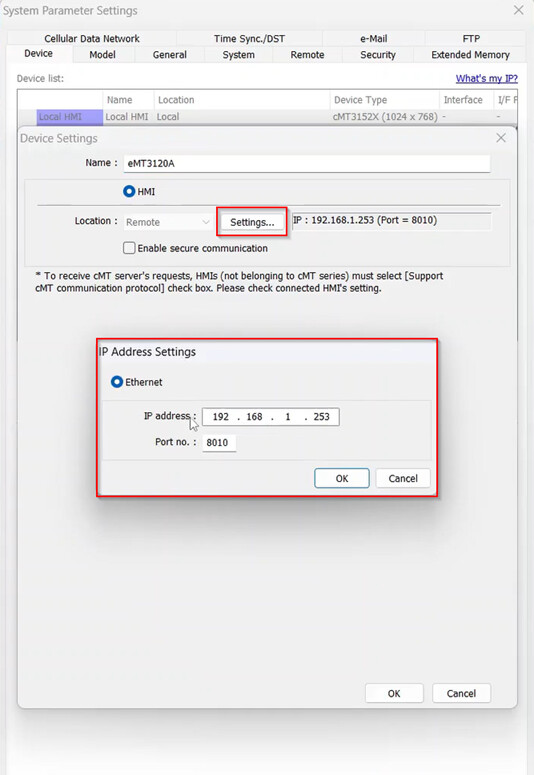
Select “Settings” and enter the IP address and same port number of the non-cMT series HMI:
-
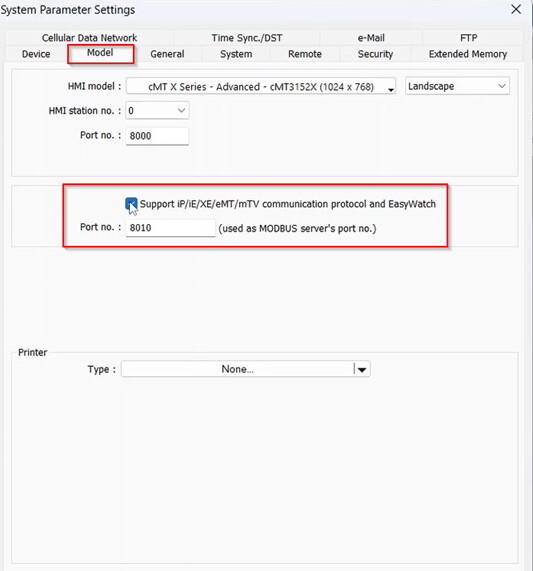
Within the “Model” tab, select the “Support iP/iE/XE/eMT//mTV communication protocol and EasyWatch” option. The port number should auto populate:
Now that the network settings within the HMI and the configuration within EasyBuilder Pro are complete, the Non-cMT and cMT series HMI will be able to communicate.