Introduction:
A “Numeric” object may be used to display device data or allow user input. In this post, we demonstrate how to set the data type of the address you intend to reference, display format, and limits within a numeric object.
Software Version:
EasyBuilder Pro 6.03.02.393+
Instructions:
-
To create a numeric object, select the “Object” tab, and click “Numeric.”:
-
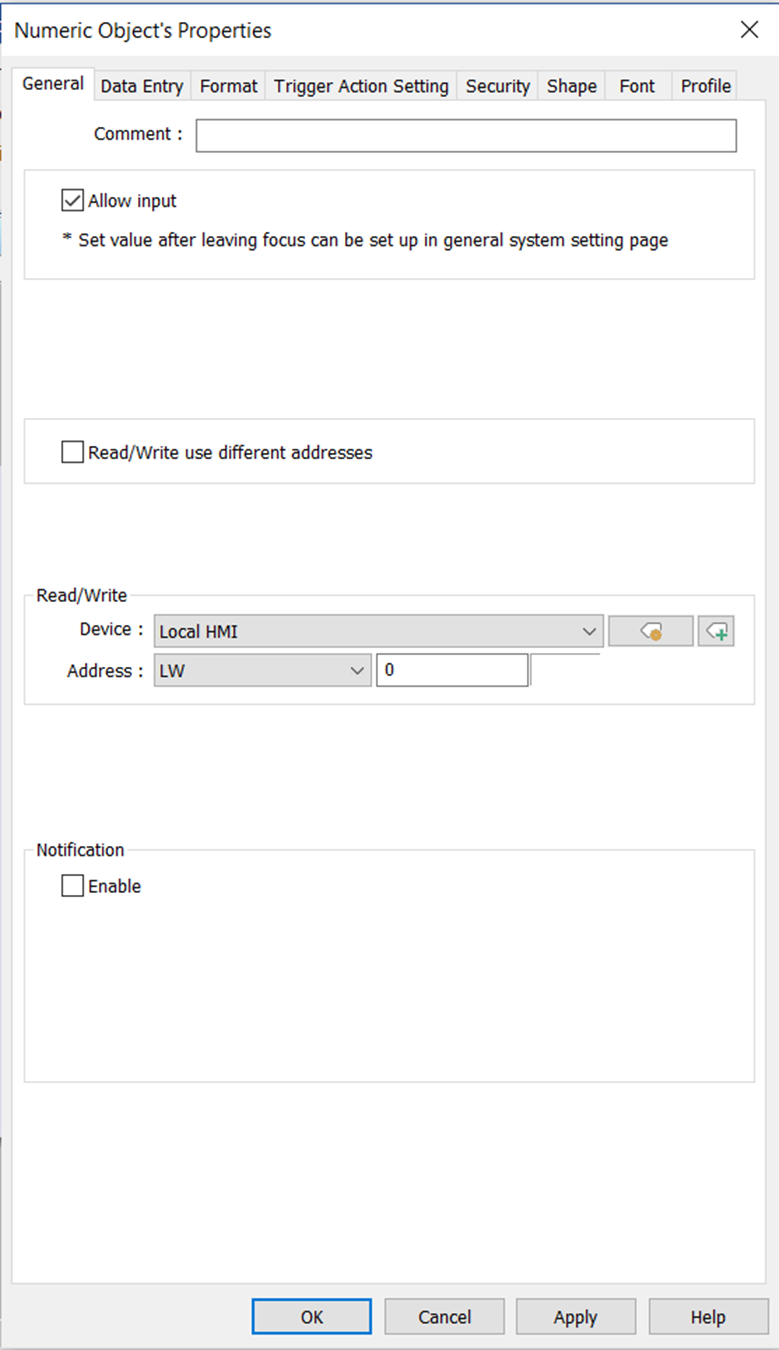
Within the “General” tab of the Numeric object, you can customize the read/write address of the object.
-
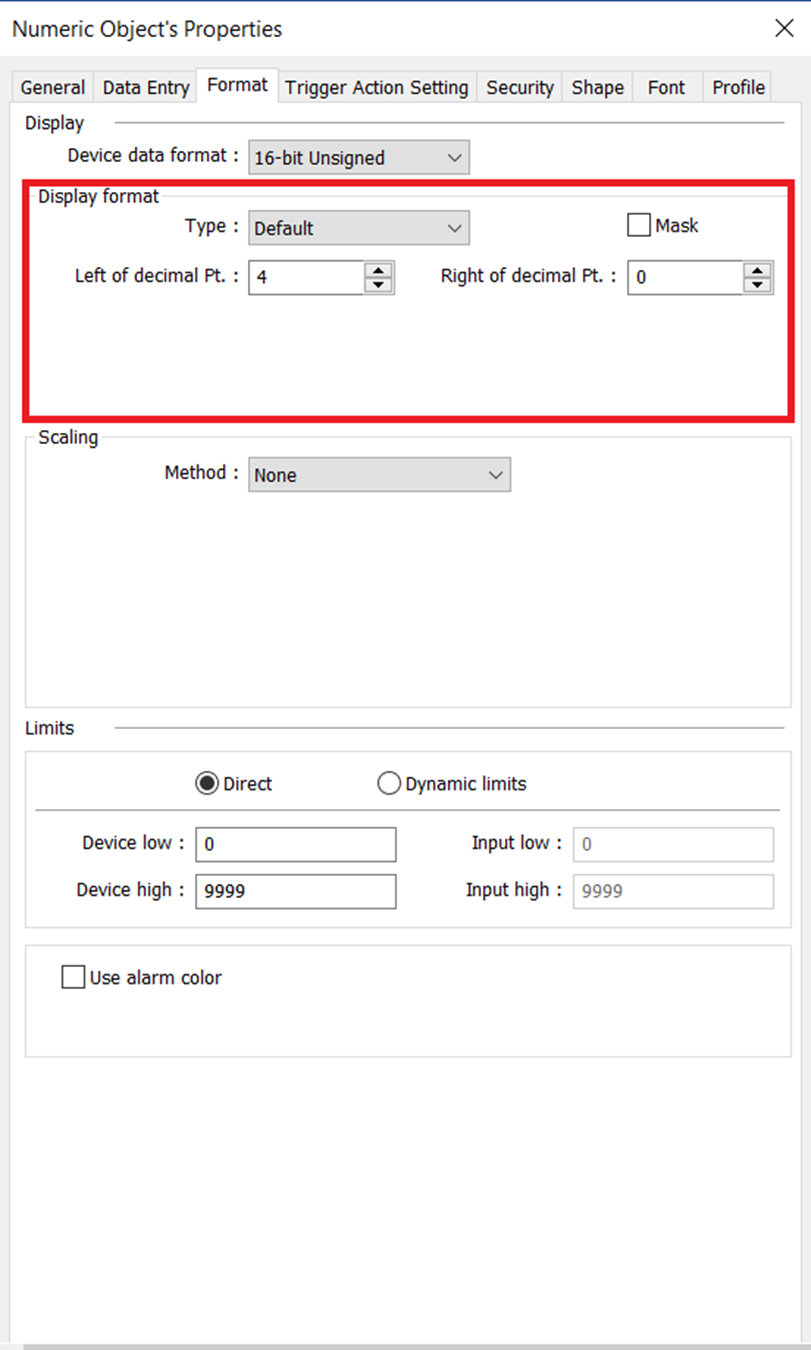
In the “Format” tab of the Numeric object’s properties, expand the “Device data format” drop-down list and select the correct data type:
Note: This option is auto-filled when using a tag-based PLC.
-
Within the “Format” tab, you can exercise control over the decimal point presentation. This can be achieved through the “Display Format” box, allowing you to determine the placement of decimal points both to the left and right or adjust the number of digits that will be displayed:
Note: If the value in this memory allocation exceeds the total number of digits (“Left of decimal Pt” + “Right of decimal Pt”), asterisks will be displayed in place of this value.
-
Within the “Format” tab, you can customize the allowed low and high input of this object. Within the example below the lowest entry is 0 and the highest is 9999. The program will not allow values outside of this range to be written to the device:
-
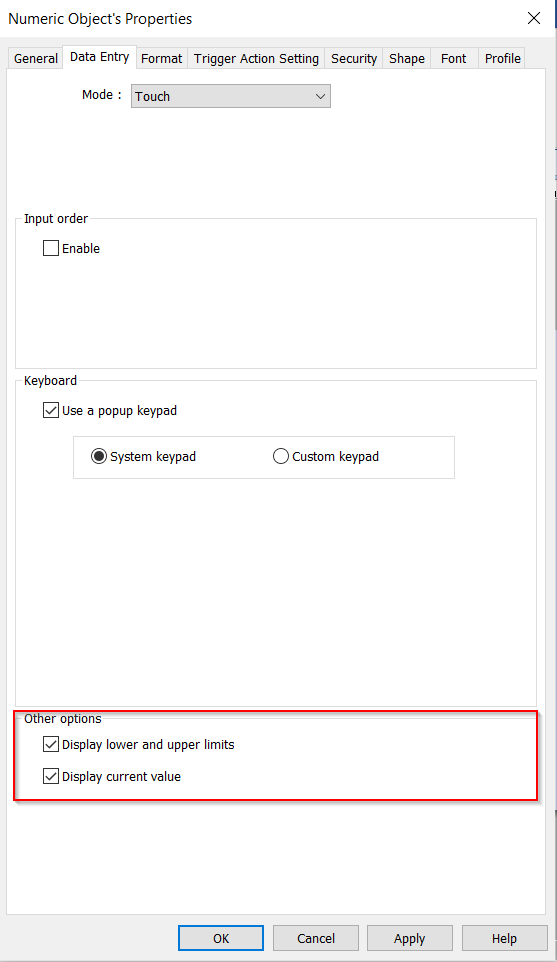
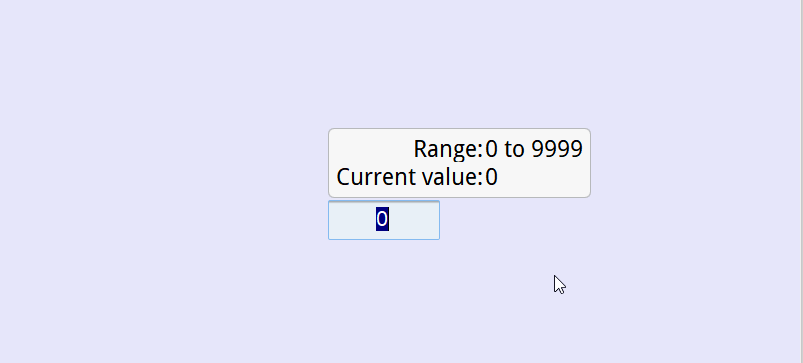
For numeric objects, it is also possible to display both the current value and the upper and lower bounds associated with the object. Within the “Data Entry” tab you may opt to enable the “Display lower and upper limits” as well as the “Display current value” preferences.