Introduction:
This post contains step-by-step instructions that explain how to create and simulate a simple Dashboard project.
Software Version:
EasyBuilder Pro 6.06.01.383+
Instructions:
-
Navigate to and create an account at www.weincloud.net.
-
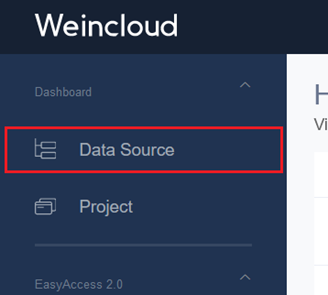
While logged in, select “Data Source” under dashboard on the top left:
-
Click on “Simulation_01” and select the “Edit” button on the top right:
-
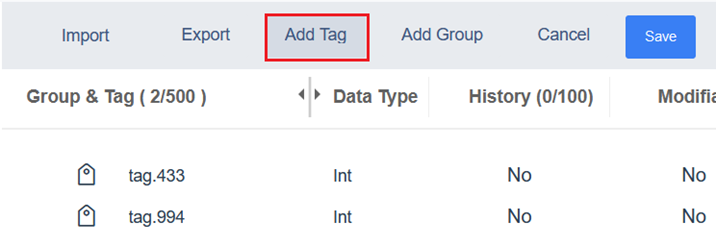
Use the “Add Tag” button to add an “INT” tag to the simulator:
Note: If a tag is created with “History” enabled it will be saved within Weincloud. Tags that do not have this setting enabled cannot be used within certain widgets like “Tag history” and “Trend”. However, this feature is not available when simulating dashboard.
-
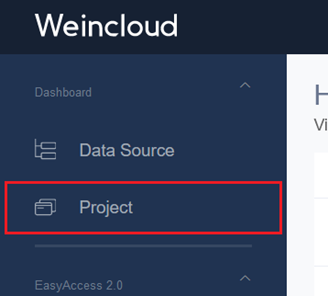
When finished, click “Save” and then select “Project” under dashboard on the top left:
-
Within the “Project” tab, click on the “Create New Project” button, assign a project name, and click “Create”:

-
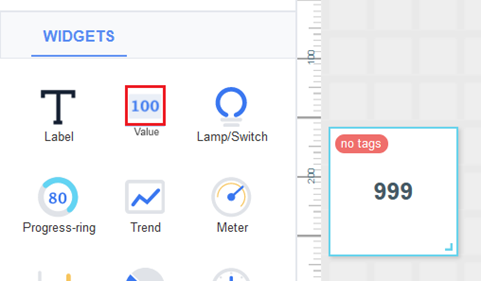
Drag a “Value” widget from the toolbox onto the work area:
-
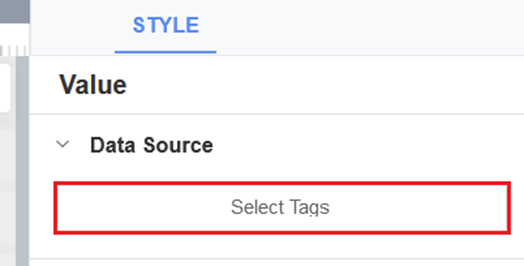
While this widget is selected, use the “Select Tags” button under “Data Source” to select a tag:
-
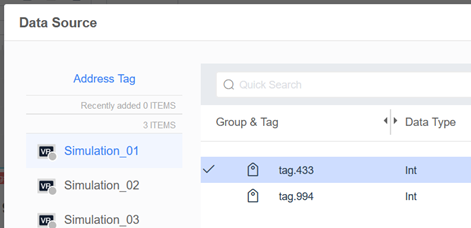
Within the “Data Source” menu, click on “Simulation_01”, select your Int tag, and click “Save”:
-
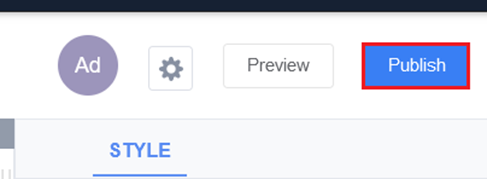
Configure any other desired properties and click on “Publish” in the top right corner and follow the prompts to publish the project:
-
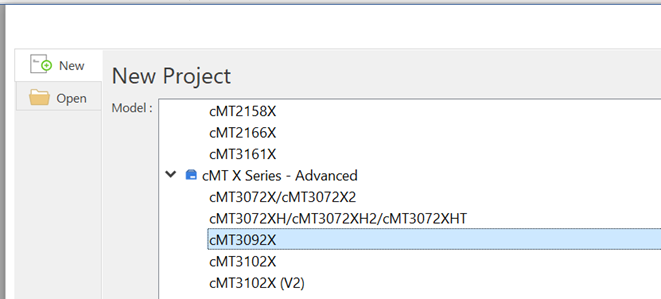
Open an instance of EasyBuilder Pro and create a project for a cMT-X series HMI:
-
Within the project, select the “Weincloud” tab and click on “Dashboard”:
-
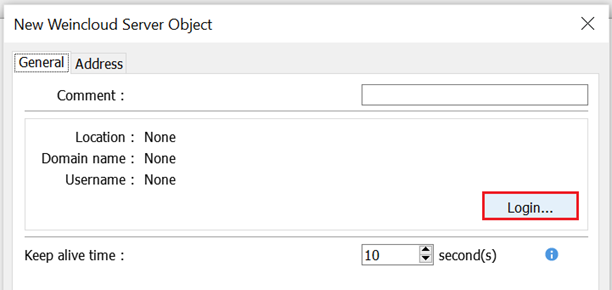
Within the “Dashboard” menu click on “Enable”. Then, select the “Login…” button within the “General” tab and login to your Weincloud domain:
Note: Select the address tab to re-configure the status address. By default, it will be assigned to LW-0.
-
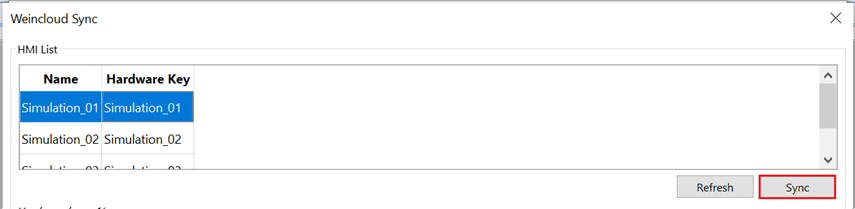
Click “Ok” and then select the “Sync” button:
-
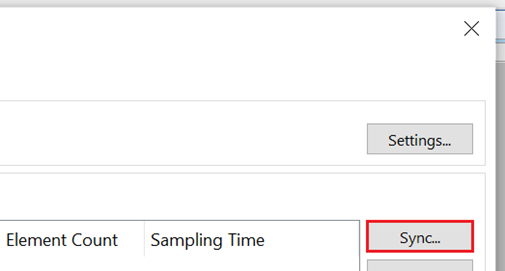
Ensure that “Simulation_01” is selected and click on the “Sync” button:
-
Click “Ok” when finished.
-
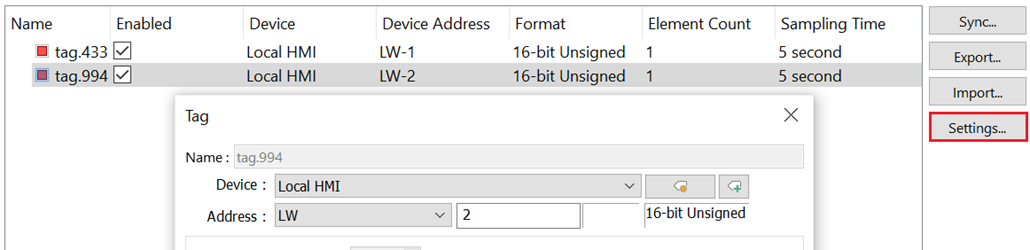
Select a tag and click on the “Settings…” button to map it to a new address:
-
Click “Exit” when finished.
-
Select the “Object” tab and create a numeric object for each address referenced within the “Dashboard” settings:
-
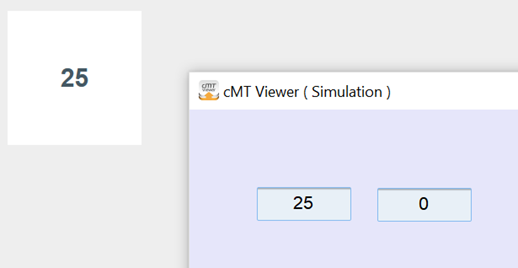
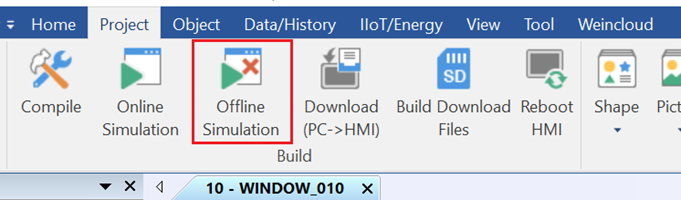
Select the “Project” tab and click on “Offline Simulation…” the application may prompt you to save the project file, after which it will compile and an instance of cMT viewer will be displayed:
-
Enter a value within either object and you will see the update occur within the dashboard project in your browser as well: