Introduction:
Within this post, we demonstrate how to modify the shape and picture of most objects within EasyBuilderPro.
Software Version:
EasyBuilder Pro 6.03.02.463+
Instructions:
-
Select an object within EasyBuilder Pro, most of our objects can be found within the “Object” tab:
-
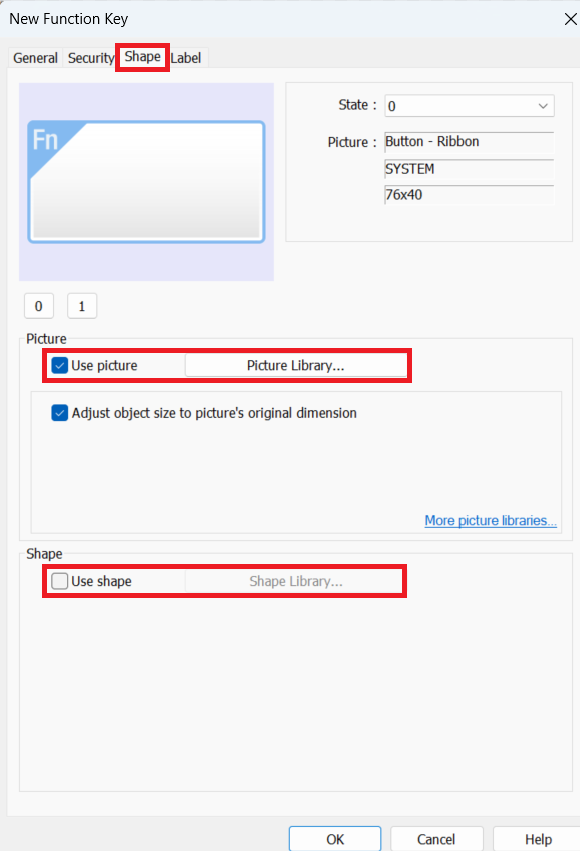
Select the “Shape” tab within an object’s properties. Here, you can choose this object’s picture from the “Picture Library” or create a shape within the “Shape Library.” Select the corresponding box based on your preference:
-
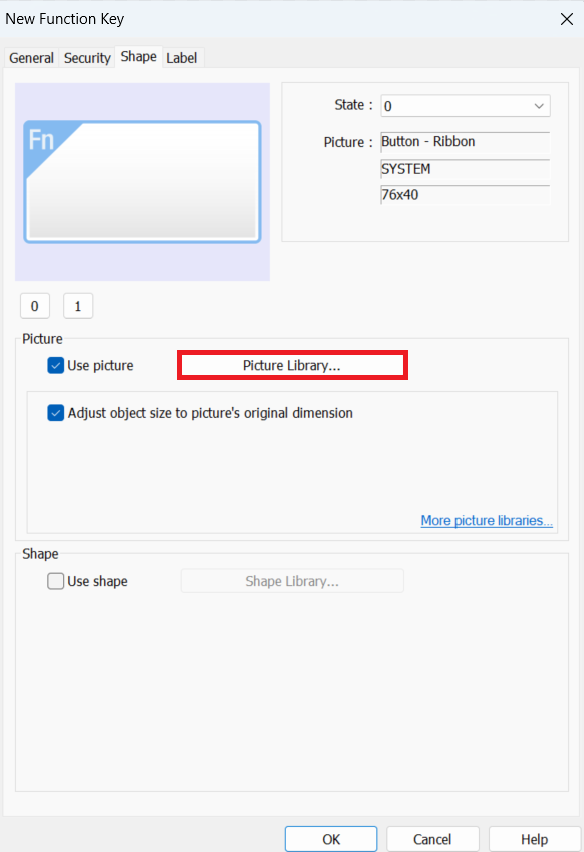
If modifying the picture, click on “Picture Library…” to open the “Picture Manager”:
-
Within the “Picture Manager,” you can select a system image or import your own. Each “Image reference” can have multiple states. After selecting a picture, click “OK”:
-
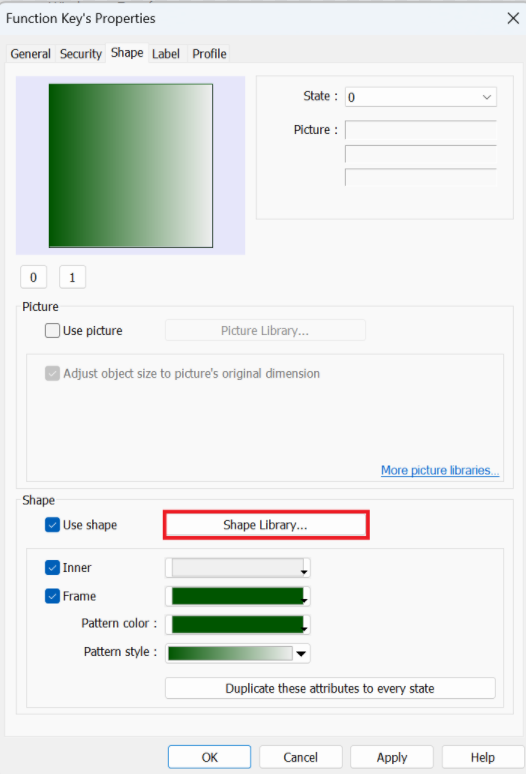
To modify the shape, click “Shape Library…” to open the “Shape Manager”:
-
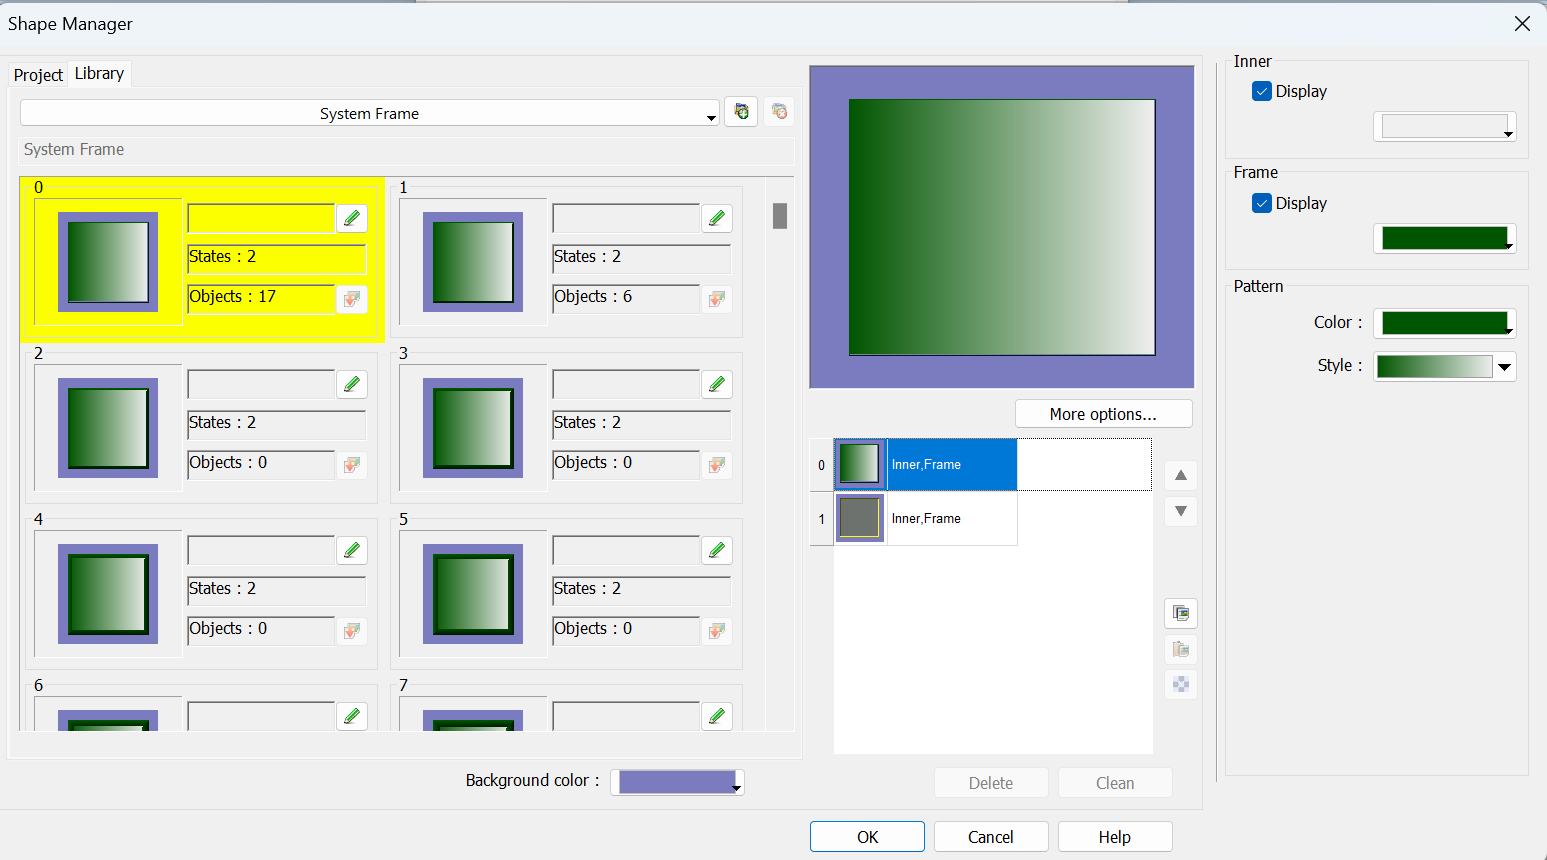
Within the “Shape Manager,” you can select the shape you prefer and modify the shape for each state. Modification can be done on the inner shape color, the outer frame, and style:
-
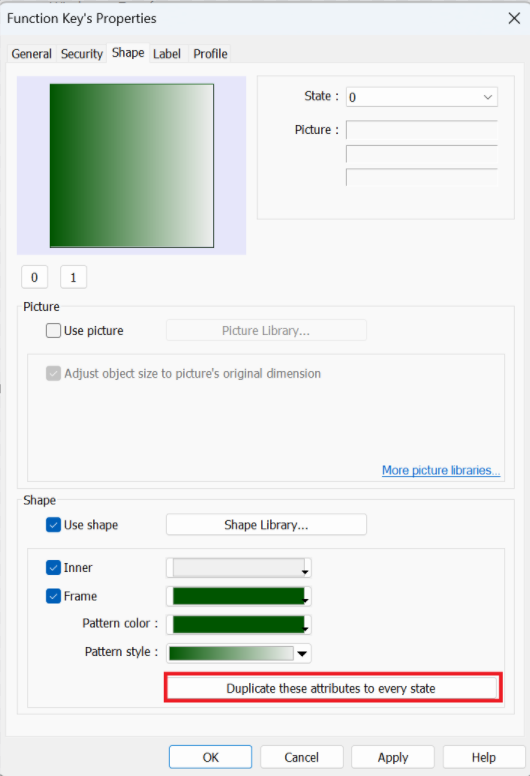
Returning to the “Shape” tab, you can adjust the shape individually for each state, as previously stated. If you want the shape to remain consistent across all states, click “Duplicate these attributes to every state”:


Keywords
modification shape, change picture, object change color, pattern, style, frame, inner, Shape library, Picture library, states.