Introduction:
In this guide, we’ll walk you through the process of adding a custom picture or logo to selected windows using the “Underlay window” feature and the “Picture Library” in EasyBuilder Pro.
Software Version:
EasyBuilder Pro 6.03.02.463+
Related Tutorials:
How to search for and add picture libraries to EasyBuilder Pro
How to create a multi-state image reference
Video - Accessing Picture Libraries with Easy Builder Pro
Video - Multi-States via Picture/Shape Library
Video - How to rotate text & image objects
Instructions:
-
To add an image to EasyBuilder Pro’s “Picture Library”, navigate to and select the “Picture” icon located within the “Project” tab:
-
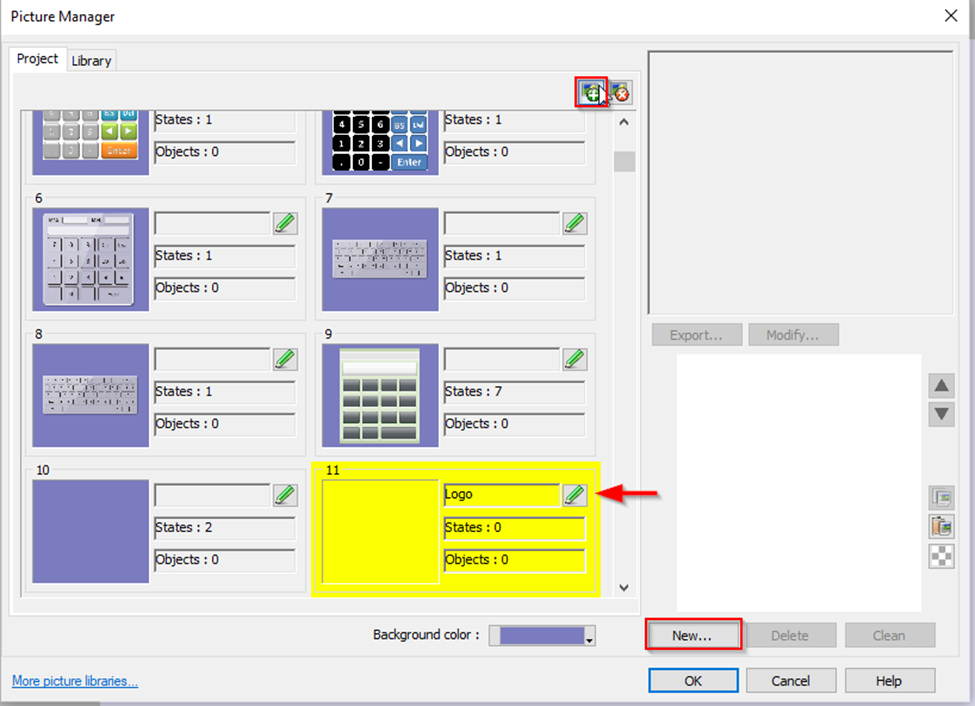
Within the “Project” tab of the “Picture Manager,” select the “Add new picture” icon. Enter a name for your new picture (optional) and click the “New” button to upload your picture into the library:
-
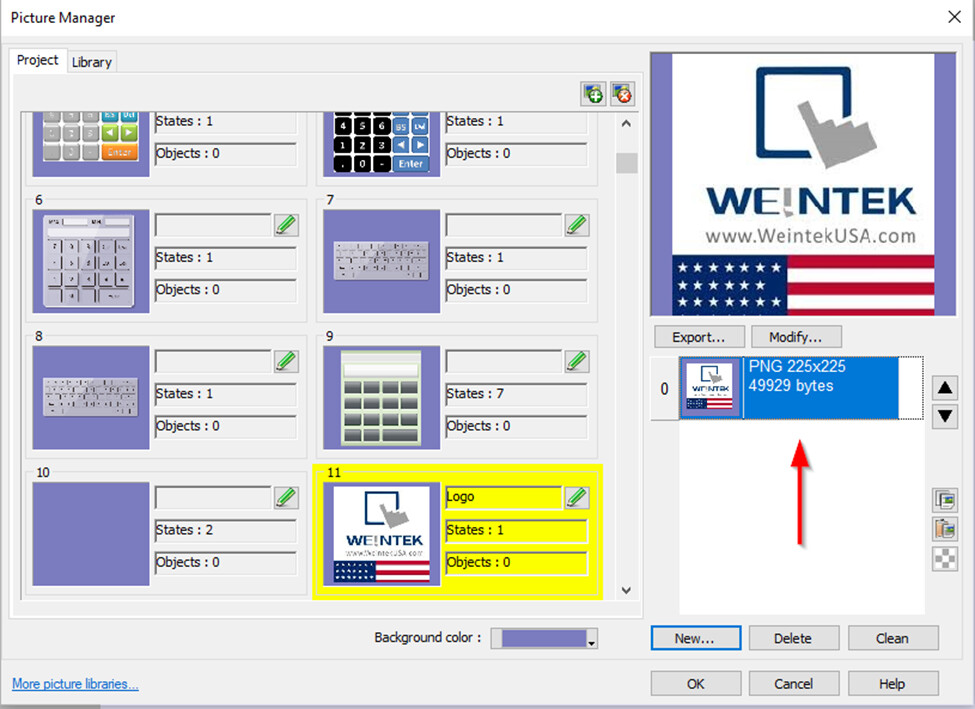
You can now browse your computer and select the image you prefer. Once selected, the image will be set to state zero within the “picture”:
-
Click “OK” to close the picture library, this action should open the “Picture Library” toolbar on the right side of the IDE. If you don’t see this toolbar, go to the “View” tab and ensure that both “Picture” and “Window Tree” are selected:
-
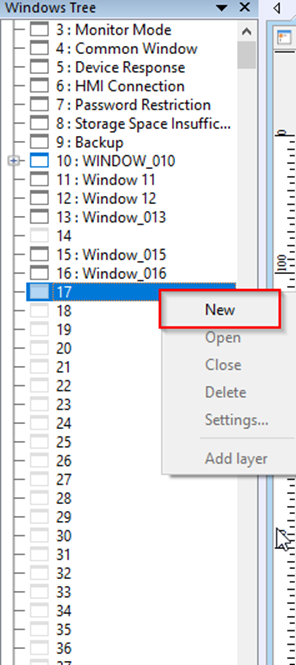
Within the “Window Tree”, right-click and select “New” to create a new window:
-
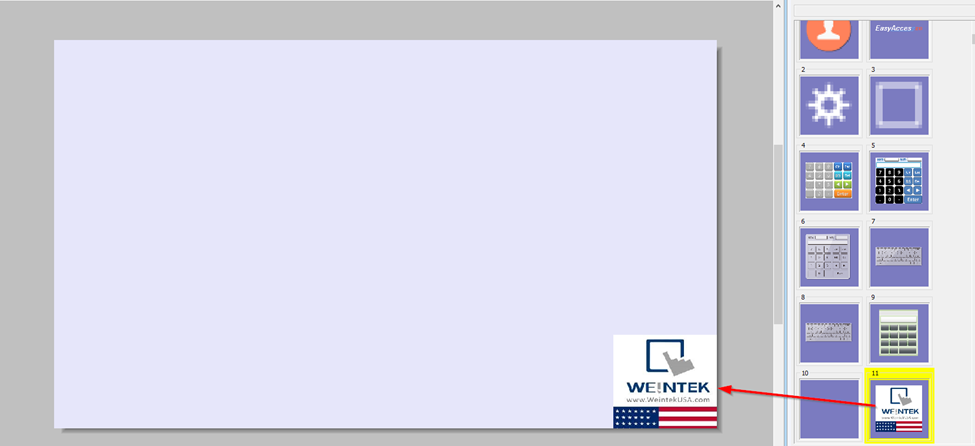
Within this new window, drag and drop the image that you’ve added in the “Picture Library” to the desired display area. Feel free to resize the logo to your preferences:
-
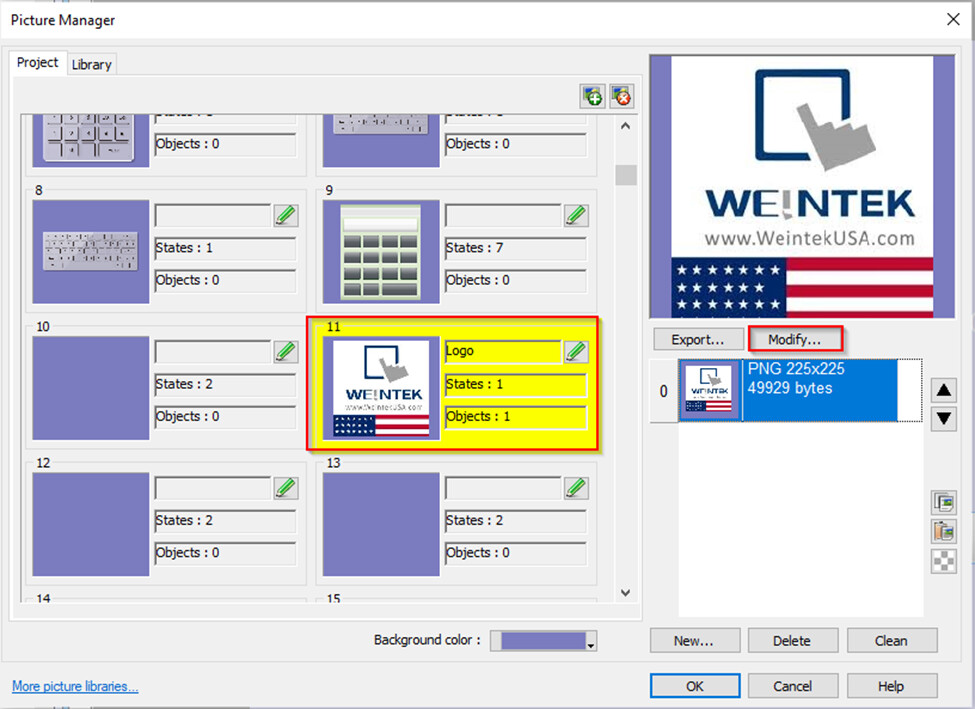
To replace an existing image with a new one while maintaining its position throughout the project, return to the “Picture Manager” located within the “Project” tab:
-
Within the “Picture Manager,” select the picture you wish to change and select the “Modify” button. You will then have the option to upload a new picture to substitute the current one:


Keywords
bmp, jpg, gif, dpd, svg, png, insert picture, change, import, file