Introduction:
Within this post, we demonstrate how to create an image reference that contains multiple picture-based states.
Software Version:
EasyBuilder Pro 6.03.02.463+
Related Tutorials:
How to use a Multi-state Switch
Video - Multi-States via Picture/Shape Library / Weintek EasyBuilder Pro
Instructions:
-
Within EasyBuilder Pro, navigate to the “Project” tab and select “Picture.” This will open the Picture Manager:
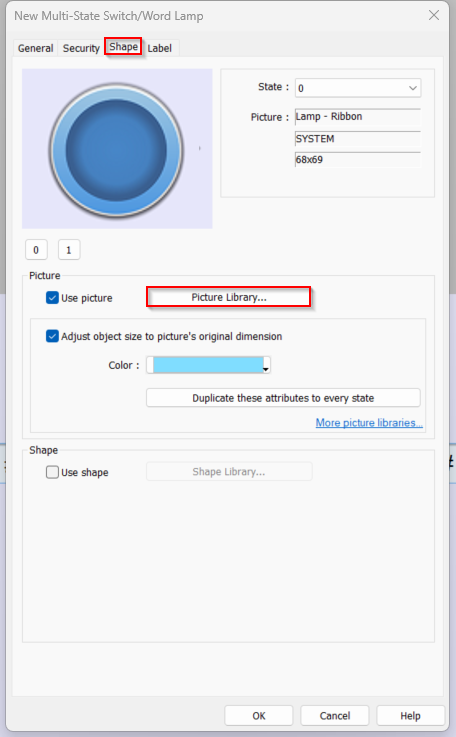
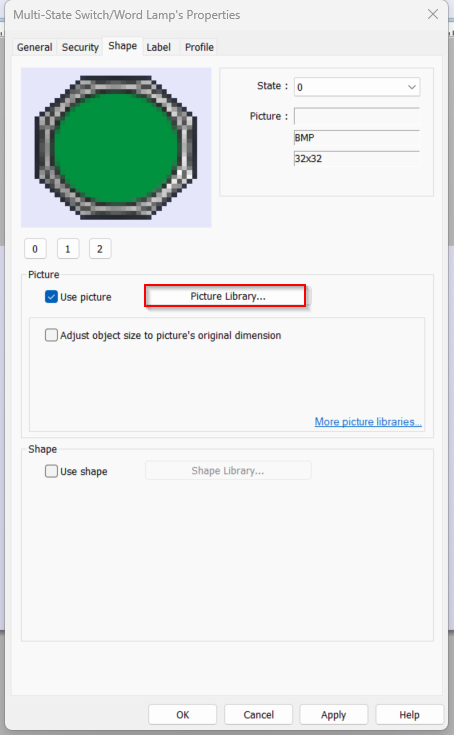
Note: The Picture Manager can also be accessed via certain object’s properties by selecting “Picture Library” in the “shape” tab.
-
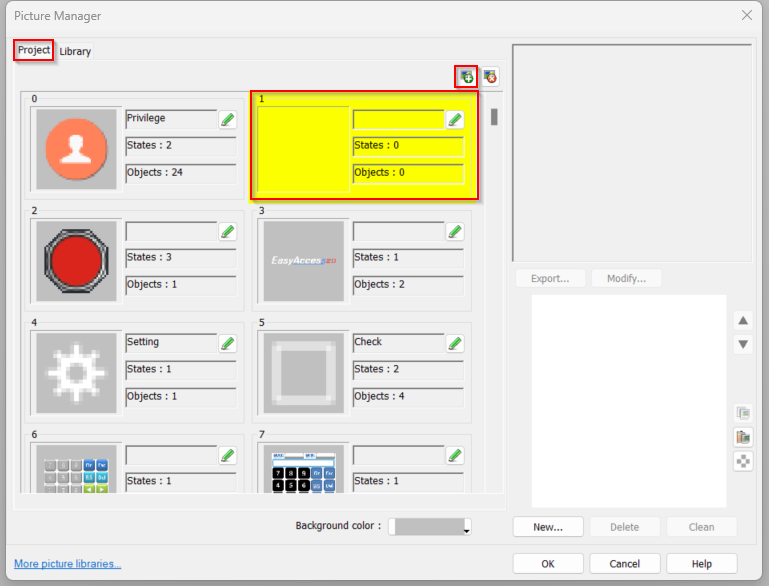
Within the “Project” tab, select “Add new picture.” Doing so will add a new multi-state image reference to your project:
-
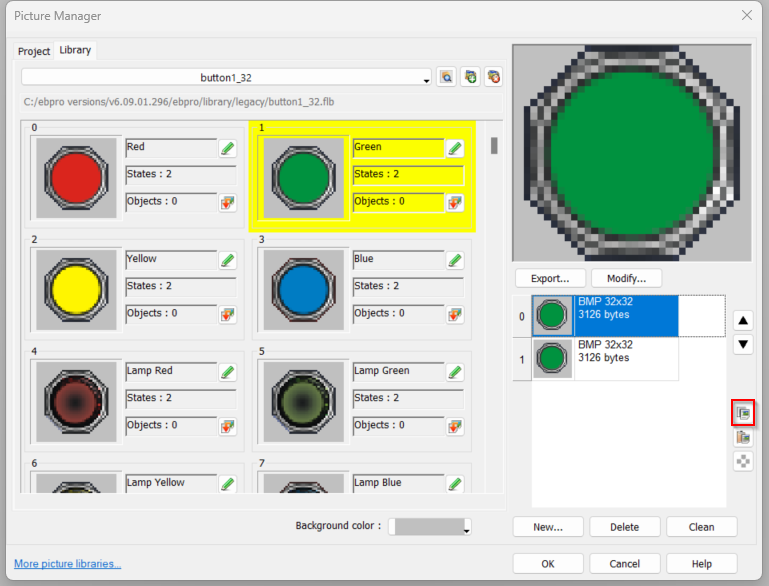
An image or “state” can be added to the newly created multi-state image reference by selecting an existing image within another library and clicking the “Copy” button:
-
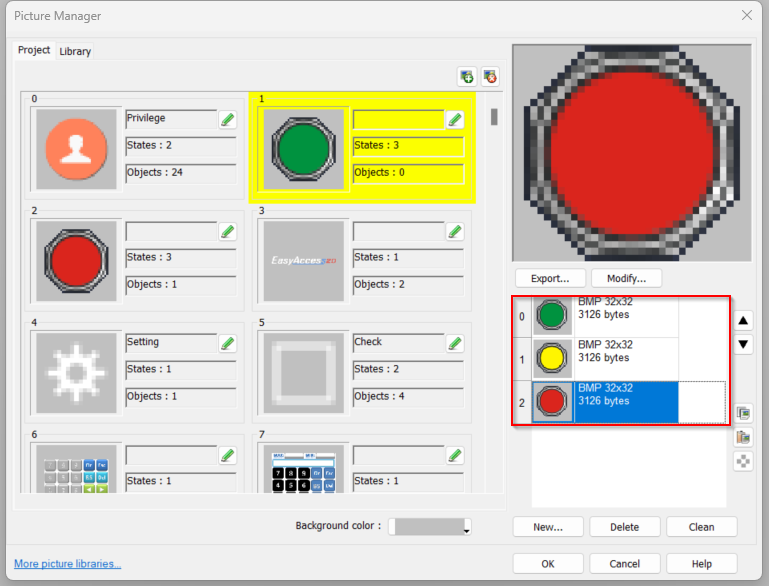
To add the copied state to your image reference, return to the new image reference and click the “Paste” button. Repeat this process until you have the desired number of states for your multi-state image reference. I’ll create three states for this example:


Note: You can also upload or import a custom image into your multi-state image reference as demonstrated in this post.
Note: To use the image reference, select the “Shape” tab in an object’s properties menu. Then, select “Picture Library…” and choose your custom image reference:
Keywords
multistate, multiple states, add images, add pictures, picture, multiple, change, modify, select, new, more, states, several, additional