Introduction:
Within this post, we demonstrate how to change the current window displayed on the HMI using a register or tag within the HMI or an external device.
Software Version:
EasyBuilder Pro 6.03.02.393+
Instructions:
-
To change the current window during runtime, select the “Object” tab and create a “PLC control” object:
-
Within the PLC Control window, ensure the “Type” in the attributes section is set to “Change Window”. The “Trigger” address is a reference to HMI or PLC memory that the window number will be written to. Notice that the Trigger address must reference an array of two registers as there is a “write-back” to LW-1 within this example. So, please make sure that two consecutive memory spaces are available when using this object.


Demonstration:
-
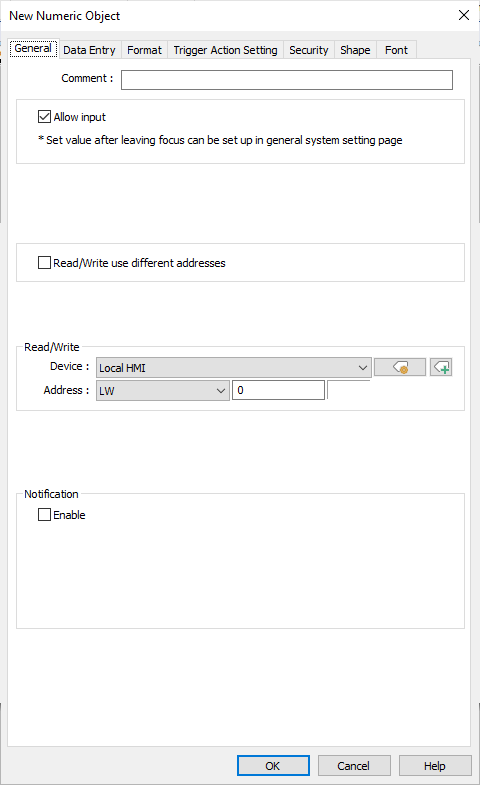
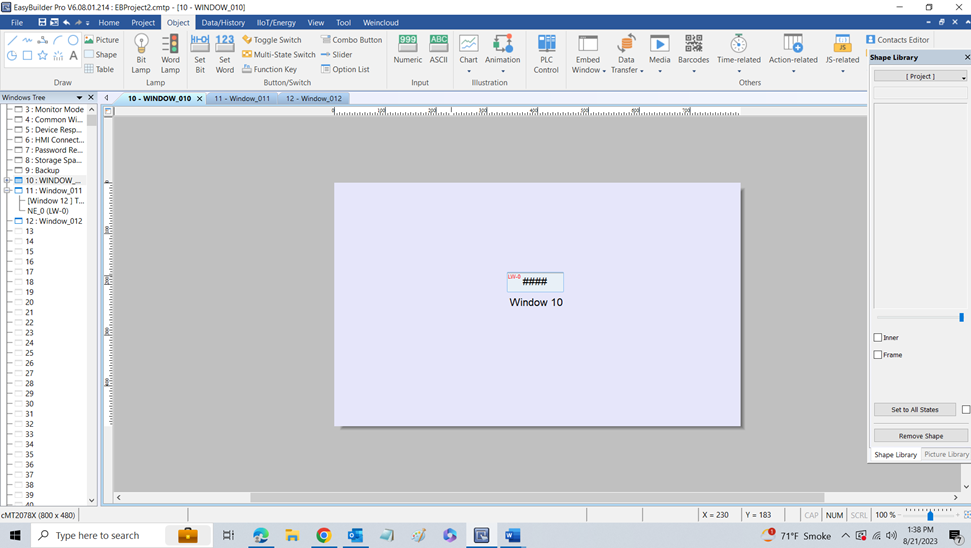
To test the PLC Control object, select the “Object” tab and create a “Numeric” object. In the properties of the numeric object make sure that the address matches the “Trigger address” configured above:
-
When you enter a number within the numeric object, the HMI will display the window that corresponds with the number written to the “Trigger” address if that window exists:
Note:
- If you can’t view the “Window Tree” on the left, go to the “View” tab and make sure “Window Tree” has been selected.