Introduction:
In this demonstration, we will create a project within EasyBuilder Pro containing a “Direct Window” object. This Direct Window will display a popup triggered by a bit on a connected Modbus device.
Software Version:
EasyBuilder Pro 6.05.02.712+
Related Tutorials:
How to create and display a popup window
How to change windows using a register or tag within the HMI or PLC
Video - EBPro Window Creation & Control (Common, Direct, & Indirect)
Video - How to change the current window with a Macro or based on a value within the PLC
Video - EasyBuilder Pro Window Operation - Weintek USA, Chapter 6
Instructions:
Project Overview
-
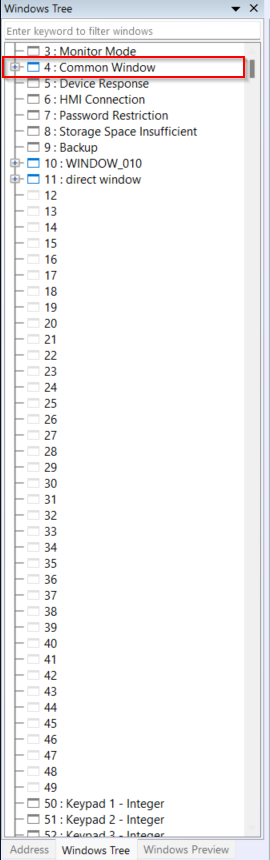
Within EasyBuilder Pro, navigate to the “Common Window.” It can be selected from the Windows Tree on the left side of EasyBuilder Pro:
Note: If the Windows Tree is not visible within your project, follow step 1 of this forum post to enable it.
Note: To allow the Direct Window to pop up on any window within your project, it must be placed on the Common Window.
-
Within the “Object” tab, select “Direct Window” from the “Embed Window” drop-down list:
-
Within the Direct Window’s properties, in the “General” tab, select “ON” from the “Trigger” drop-down list, select the popup window you wish to display from the “Window no.” drop-down list, and select “Popup window” from the “Style” drop-down list. In the “Read” section, select the connected device and bit address that will be used to trigger the popup window:
Note: A title bar can be added to the popup by clicking the “Title Bar Setting…” button.
-
Within the “Position” tab, you can choose where the popup will display relative to the region enclosed by the direct window:
-
Place the Direct Window on the Common Window when finished:


Demonstration
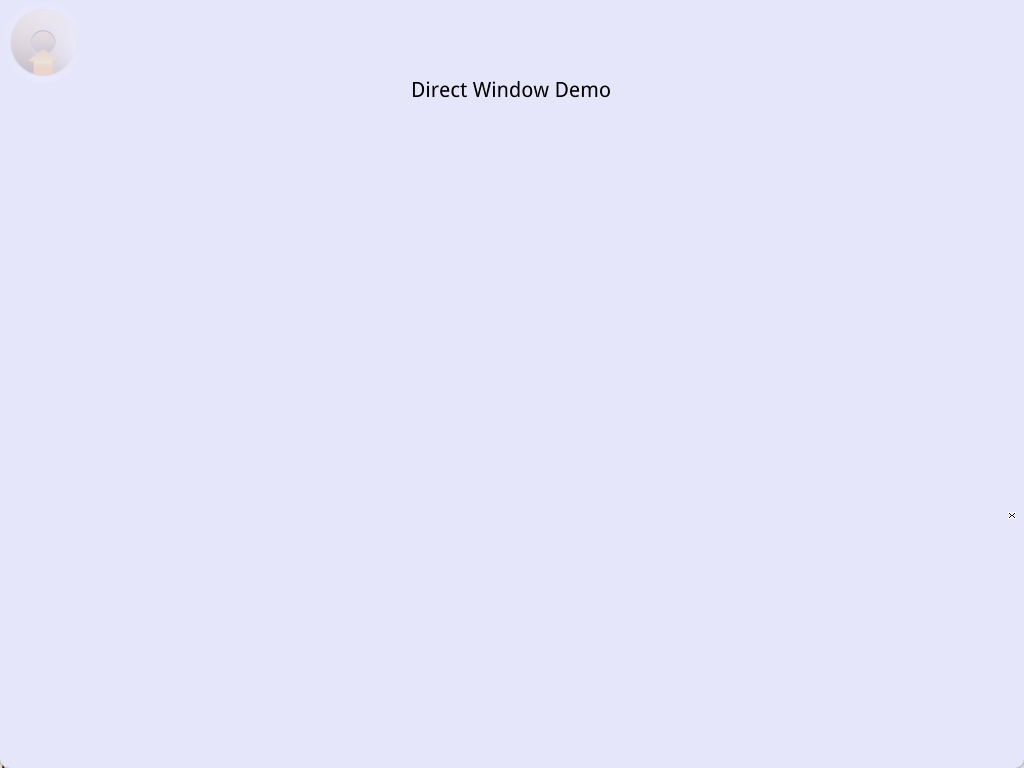
When the bit specified in the Direct Window’s “Read” address is triggered, the Direct Window pops up:

The connected Modbus TCP/IP device’s bit status: