Introduction:
In this post, we demonstrate how to set up a “Function Key” button that will allow you to display a pop-up window.
Software Version:
EasyBuilder Pro 6.03.02.463+
Instructions:
-
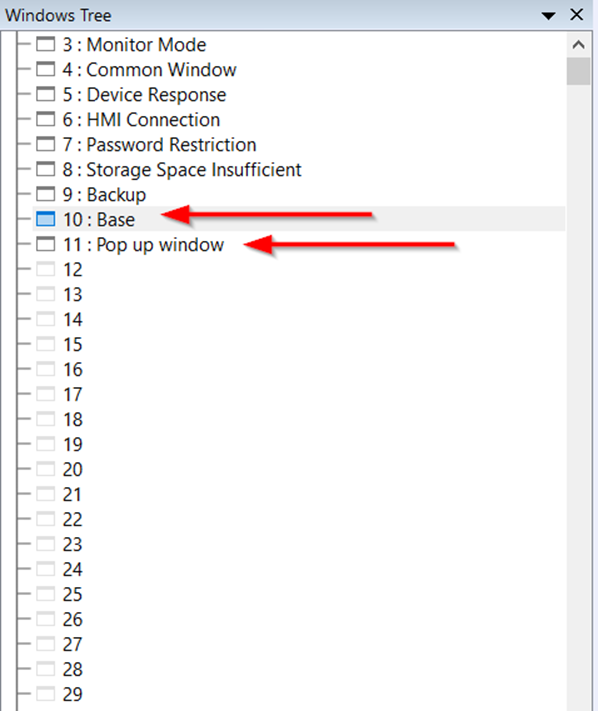
Within this example, we’ll create two windows. The first, named “Base”, will host the “Function Key” responsible for displaying the second window, which we’ll refer to as the “Pop-up window”:
Note: When designing the pop-up window, be mindful of its dimensions. By default, it may cover the entire screen when activated. Adjust the window size to your preference within the window settings.
-
Now, let’s create a “Function Key” within the “Base” window. To do this, navigate to the “Object” tab and click on the “Function Key” icon:

-
When configuring your “Function Key” object, ensure that the (A) “Type” is “Window.” Next, select (B) “Display Pop-up Window” for your “Function” attribute. This action will reveal the (C) “Window No.” input box where you will specify the window you wish to display when the function is triggered:
-
Additionally, within the “Title bar/Position” settings, you can choose whether your pop-up window should have a title bar displayed and decide whether the popup should appear in the center of the screen or at a custom location:
-
Once you’ve configured the window settings to your liking, place the “Function Key” on the “Base” window. During runtime, click on the “Function Key” to display the corresponding popup window: