Introduction:
Within this post, we will demonstrate how to change HMI models within an existing project.
Software Version:
EasyBuilder Pro 6.03.02.463+
Instructions:
New project:
-
Open an instance of EasyBuilder Pro and within the “New” tab select the HMI “Model” used within your application or select the “Open” tab to open your current project and click (A) “OK”.
-
When starting a new project the “System Parameter Settings” popup will display. Here, you can add devices or configure project security:
-
After everything is to your liking, click "OK” to close this menu.


Change model:
-
To change the HMI model used within your project, navigate to “System Parameters” in the “Home” tab:
-
Within the “System Parameters Settings”, select the (A) “Model” tab. Here you will find the (B) “HMI model” drop-down list. From the drop-down menu, select the HMI model you would like to use within your project:
-
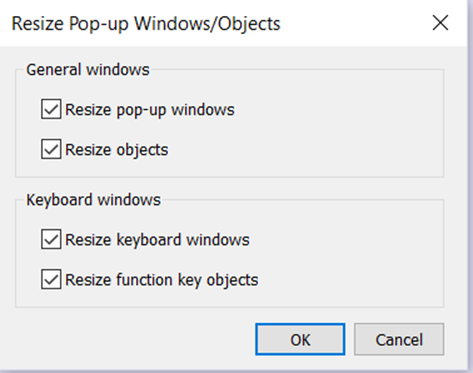
You may see the following window stating that the IDE would like to resize existing objects according to the resolution of the new HMI. We recommend you keep all boxes checked and click “OK”:
Note: Depending on conversion it may be necessary to manipulate certain objects by hand.
-
When finished, the project will be ready for use.


Note
It is not possible to convert a cMT or cMT-X project to a non-cMT project.