Introduction:
Within this post, we setup an FTPS connection within EasyBuilder Pro and connect to a FileZilla FTP server that has been setup to accept Implicit FTP over TLS connections.
Software Version:
EasyBuilder Pro 6.07.01.213+
Instructions:
FileZilla Server
-
To begin, we’ll open the FileZilla “Administration Interface” and configure our server to accept connections via implicit FTP over TLS. If you would like to follow along, please download and install FileZilla server before proceeding to the next step.
-
When the “Administration interface” is open, click “Connect to server” to display the “Connection” popup shown below. Within this popup, you may leave the default “Host” and "Port’ settings or use the settings within this image:
-
Next we will modify the server to support communication encrypted via TLS. Select “Server” on the top left, then navigate to and click “Configure…”:
-
Within the “Server listener” branch, set the “Address” to “0.0.0.0” and “::”, with both allocated to port 990. Also, ensure that the protocol of both listeners is set to “Implicit FTP over TLS” . The addresses 0.0.0.0 and :: allow us to listen to all interfaces and port 990 is the default port for implicit FTPS:
-
Next we will add a user. Navigate to the “Users” branch under “Rights management”, and select add.
-
Set the username per your requirements and while “Require a password to log in” is selected, configure the user’s password. When finished, setup the “Virtual” and “Native” path.
Note: The virtual path is the path utilized by the FTPS client. The native path is where the file will be sent to or retrieved from on the PC. In this example, we will use a “/” for the virtual path which will be mapped to a folder called “file” on our C drive.
-
Click “Ok” when finished.
-
Within EasyBuilder Pro, select “FTP Connection” within the “Data/History” tab to add our FTP server:
-
Within the “FTP Connection” properties menu, select “Implicit FTP over TLS” as the “Type”. In this demo, we will send a file internally using the loopback address, “127.0.0.1” for the “Host”. The “Port” will be 990, as defined in FileZilla and we’ll add the “Username” and “Password” specified in step 6:
Note: Before downloading this project to an HMI, please change the Host IP address to the IP of your PC or to the IP of the device hosting the FTPS server.
-
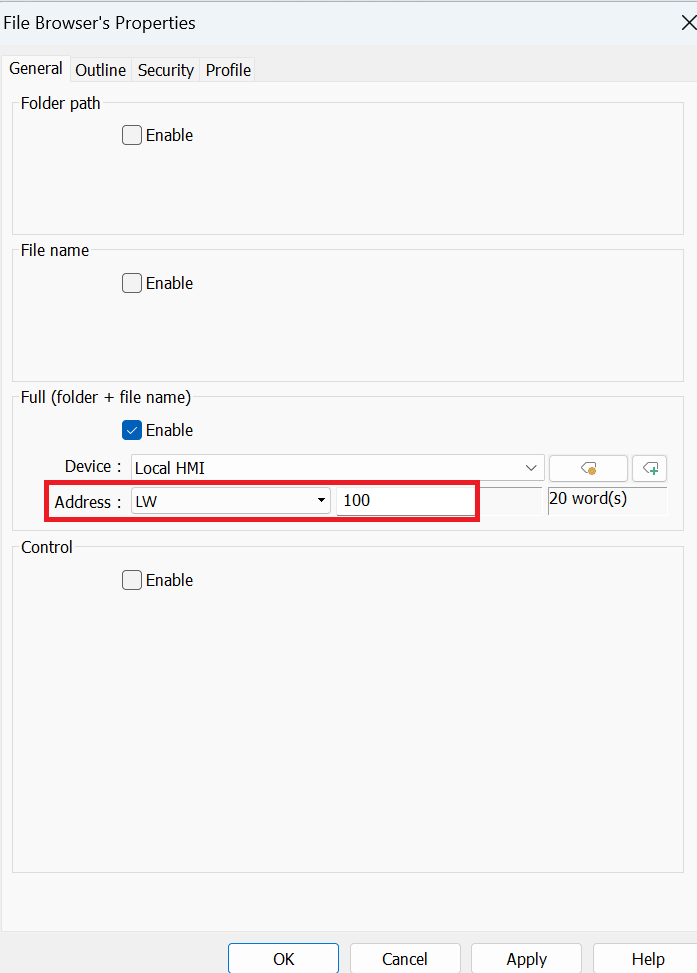
Select the “Object” tab and create a “File Browser” object. Set the “Full (folder + file name)” address to an available memory location:
Note: In this demonstration we will use this object to select the file that will be sent to our server.
-
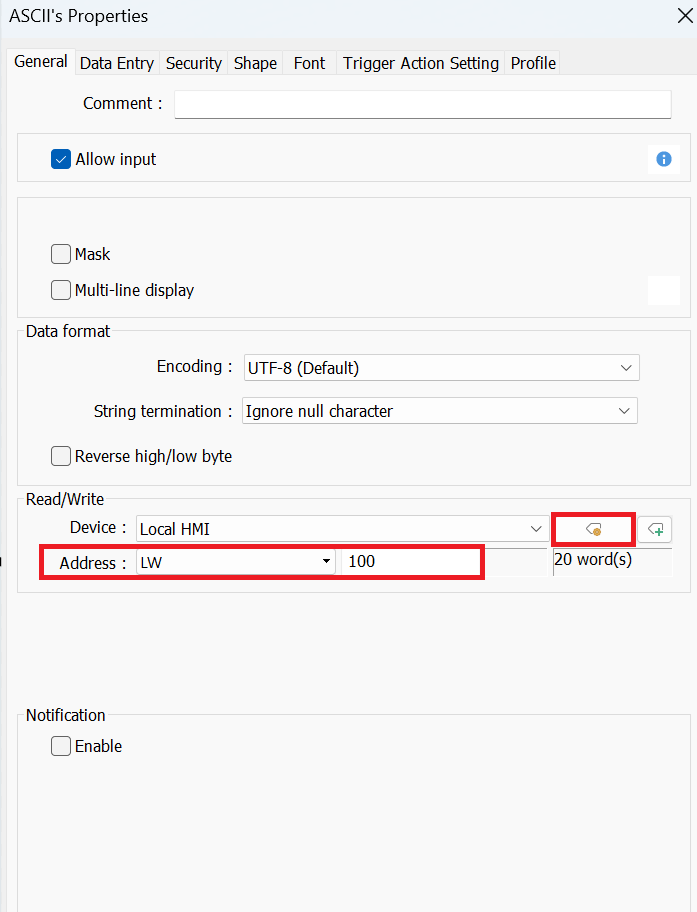
To display the file path, we can use an “ASCII” object addressed to the same location in HMI memory as the “File Browser” object used in step 10:
Note: To change the number of characters that the ASCII object will display, please follow the instructions within this post.
-
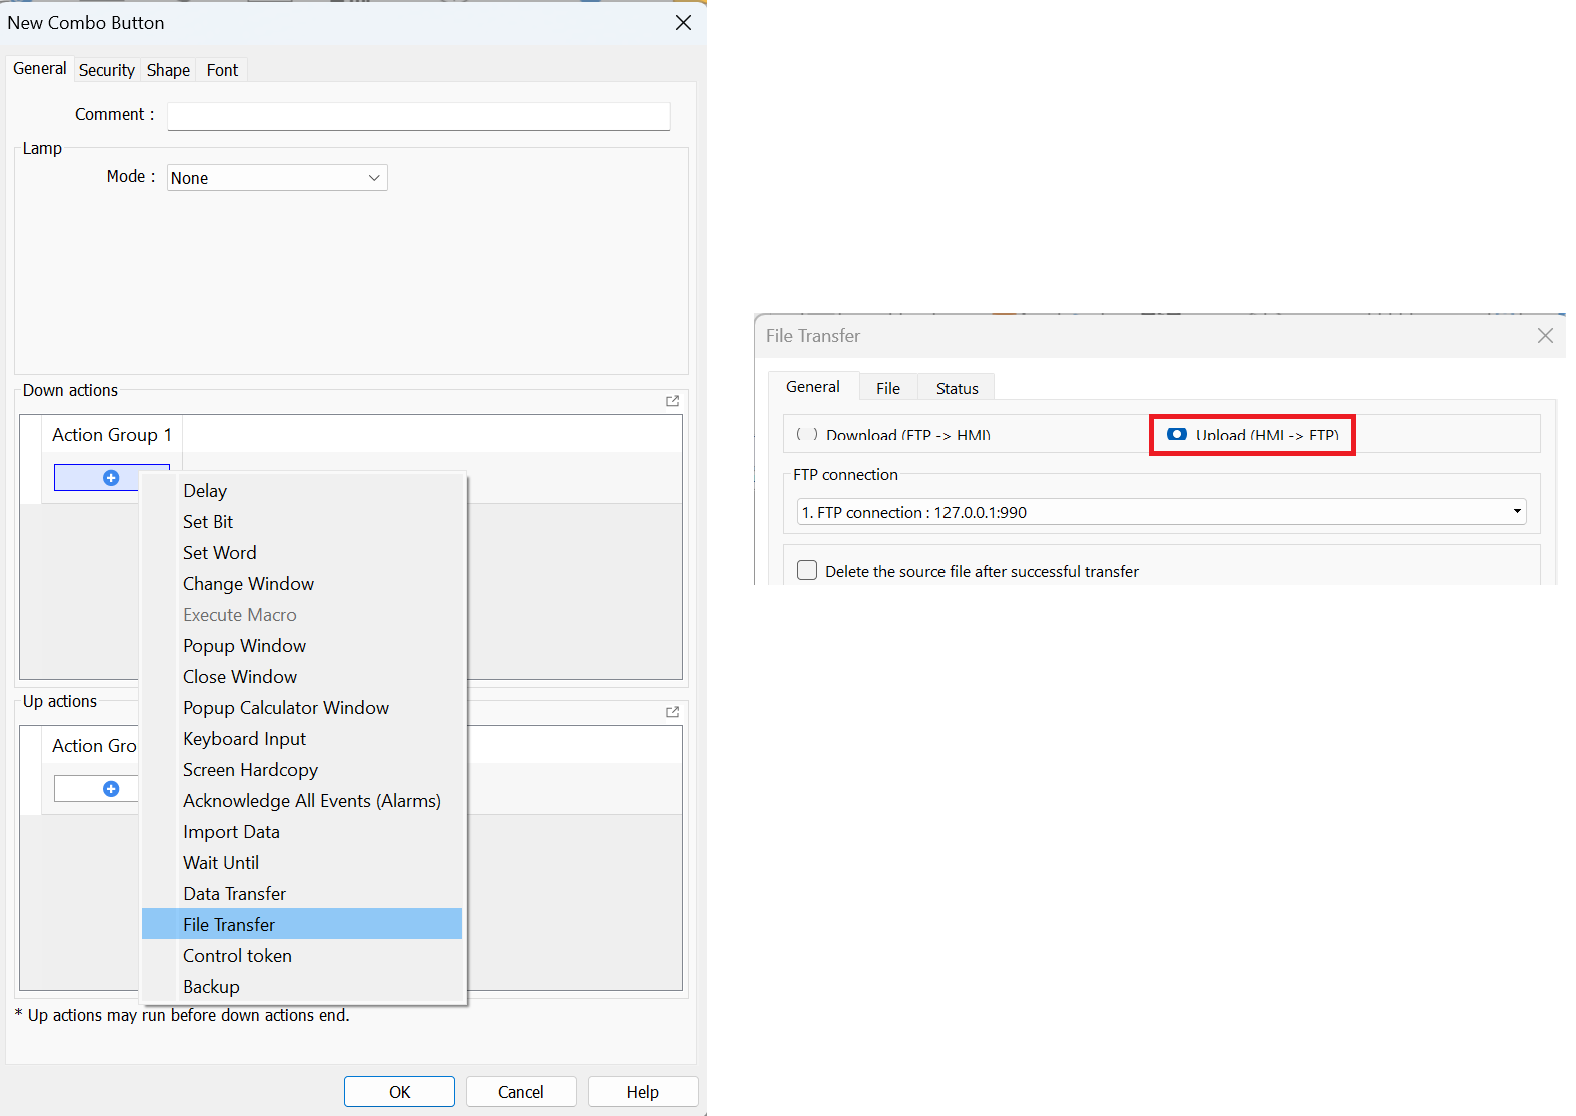
Next, we will use a “Combo Button” to execute the file transfer:
Note: An “Action Trigger (Global)” or “Action Trigger (Per-page)” object may be used as well.
-
Within the combo button, add a “File Transfer” action. Then, select the “Upload (HMI → FTP)” option within the “General” tab:
-
Within the “File” tab, select “Address” for the “HMI full path…” and choose the memory address attributed to the file source. Within this demo, we will use a “File Browser” to output the file path of a selected file to LW-100, so we have set this here. Additionally, insert the “FTP full path…”, this can be entered using an ASCII object or we can set a static file path and file name:
Note: In this example, we will use a static file path (virtual path) and file name.
-
[Optional] This step is not required, but it can be useful when troubleshooting connection issues. Configure a “Result address” within the “Status” tab to view FTP error and response codes:
Note: The “Percentage” in this menu will indicate the file transfer progress. You may setup “Numeric” objects that correspond to these memory addresses to see the error codes during the transfer.
-
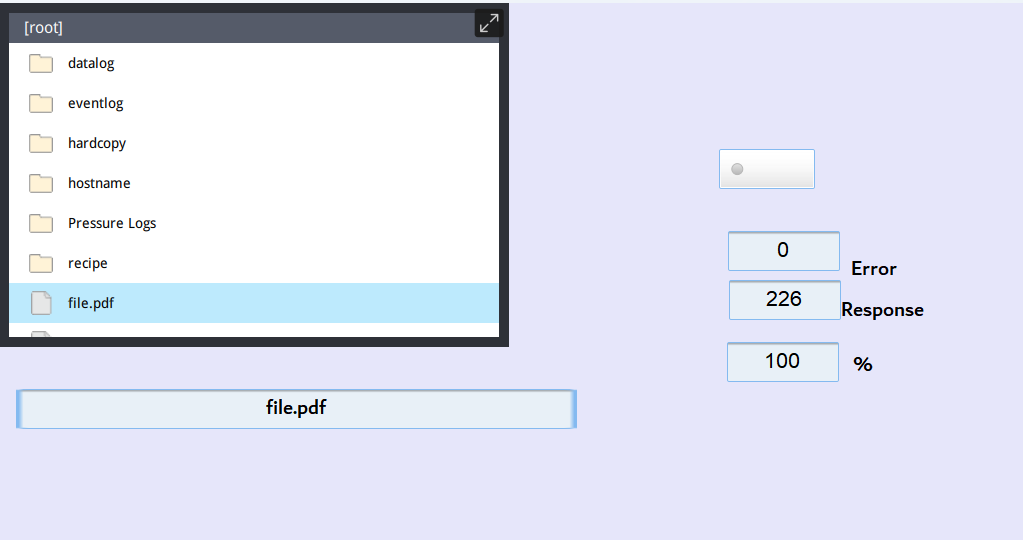
The project should now look similar to the demo project within this image.
Note: After a successful file transfer, the response code will be 226, and the file will arrive in the specified location.