Introduction:
Within this post, we demonstrate how to connect EasyRemoteIO to an iR-ETN that cannot be found using the “Automatic Scan” option.
Software Version:
EasyRemoteIO 1.4.7.0+
Instructions:
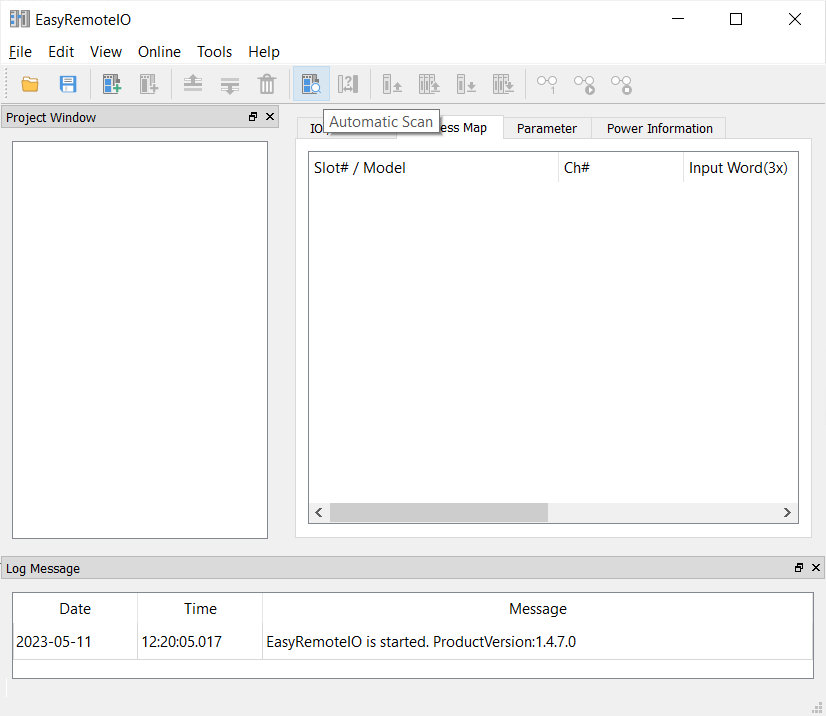
When using EasyRemoteIO version 1.4.7.0+, there are two different ways to add an iR-ETN and associated IO modules to the project window. The first method is to use the “Automatic Scan” button to find the iR-ETN:
However, in some cases EasyRemoteIO may not be able to detect the coupler. In such cases, if you can ping the iR-ETN please use the method described below to add the coupler and associated IO modules to your EasyRemoteIO project:
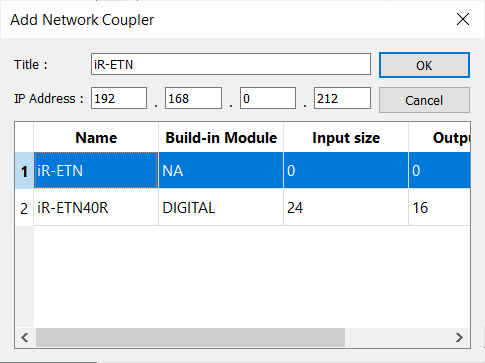
Note: The default IP address of the iR-ETN is 192.168.0.212
-
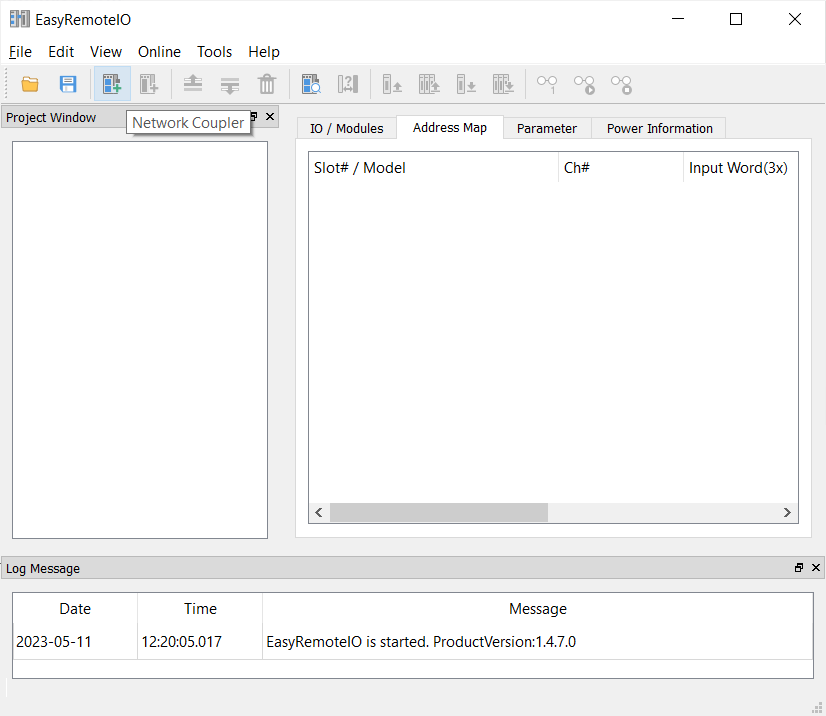
Within EasyRemoteIO, select the "Network Coupler"option:
-
Enter the iR-ETN’s IP address and click “Ok” to add the coupler to your project:
-
Select the “Module” button to add each IO module that is connected to the iR-ETN:
-
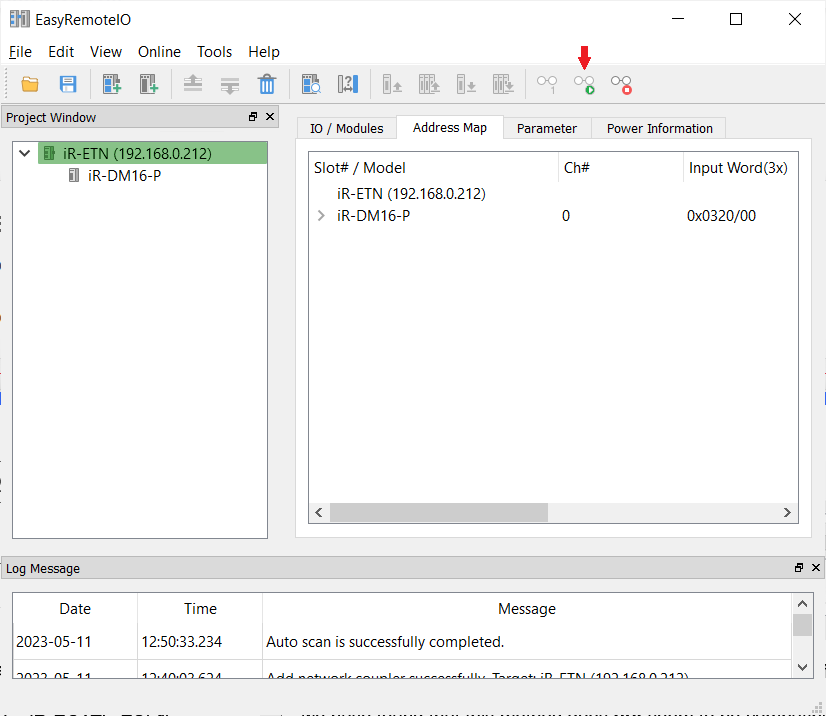
When finished, select the green “Start Monitoring” button to verify communication. The iR-ETN will be displayed in green if communication is successful:
-
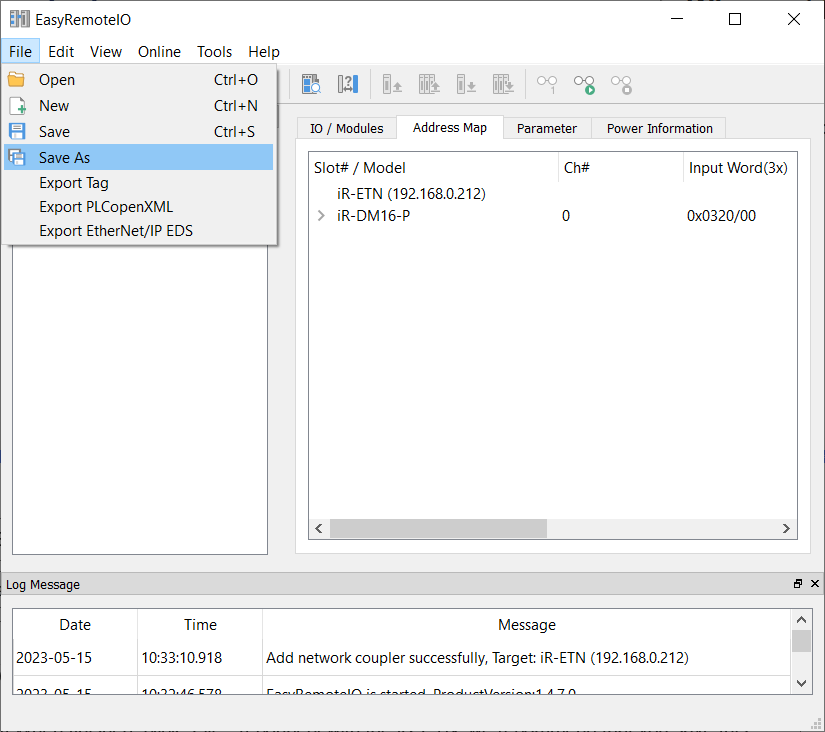
[optional] When finished, click “Save As” within the “File” drop-down list and follow the prompts to save this project file:
-
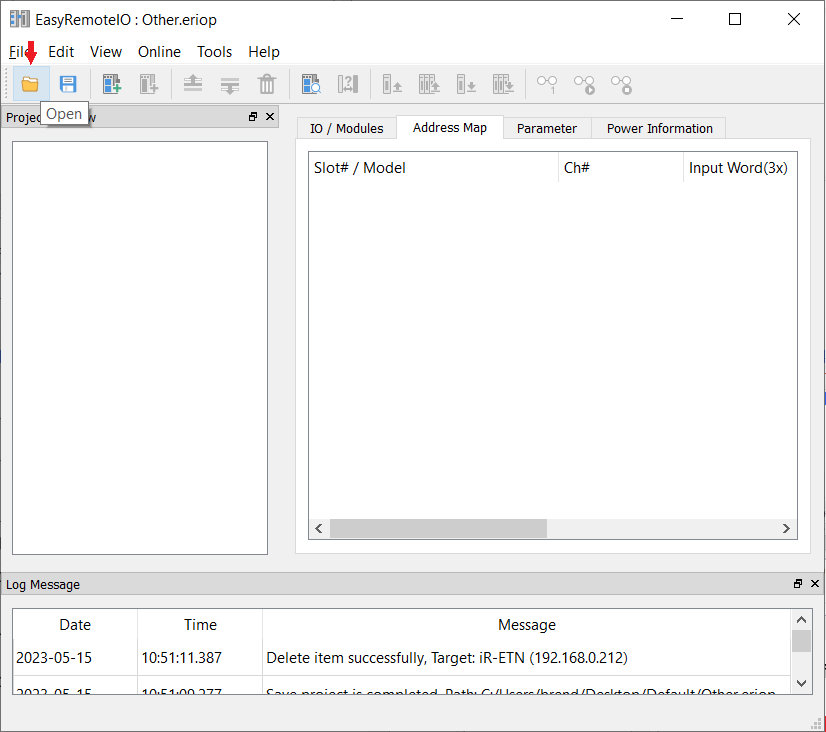
[optional] Click the file icon and follow the prompts to open a project file. This will allow you to quickly reconnect with your device:

Keywords
can’t, won’t, doesn’t, cant, wont, doesnt, not working, ETN, iRETN, iR-ETN, coupler scan, find, locate, search, ping, read