Introduction:
In this tutorial, we will explore how to create a background or “underlay” window within EasyBuilder Pro to enhance the visual design and maintainability of your project.
Software Version:
EasyBuilder Pro 6.03.02.463+
Instructions:
-
Navigate to the “View” tab and ensure “Window Tree” is enabled. This option will allow you to view and manage your project’s windows:
-
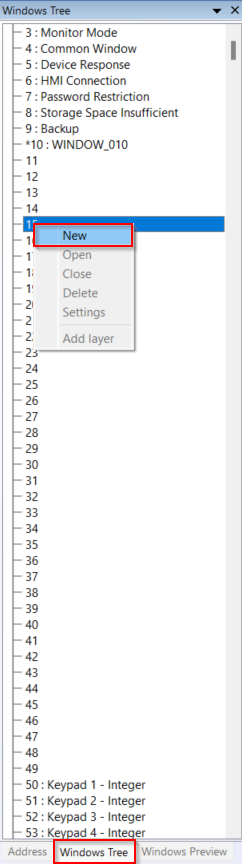
On the left side of EasyBuilder Pro, select the “Windows Tree” tab. Right-click on any window and click “New” to create a new window. In this demonstration, we will create a background window that will serve as the foundation for all full size windows within our project:
-
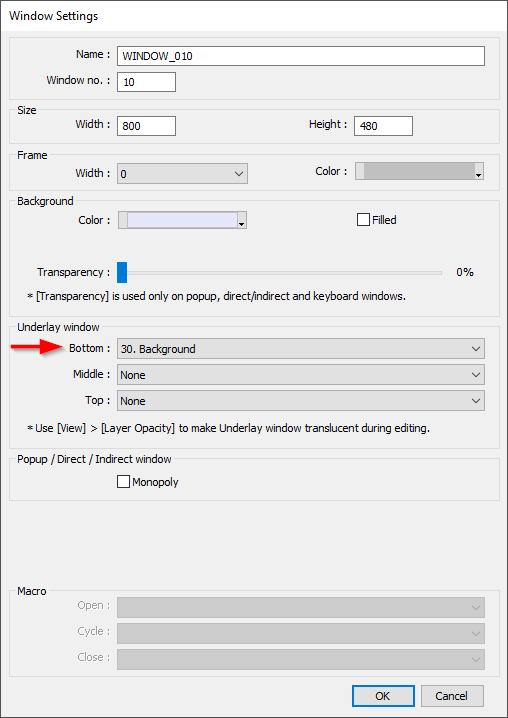
Within the “Window Settings” of the background window, you have the option to adjust the dimensions within the “Size” section to cover a specific portion of the main window.
Note: If you modify these dimensions, the background will be display on the base window with the specified size starting from the top left corner.
-
Objects that are placed on the background window will display on any window that that references this background:
-
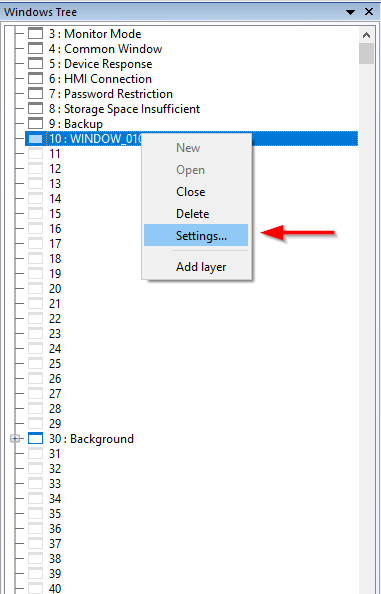
Next, right-click on the window to which you want to apply the background you’ve created. Then, access the “Settings” for that window:
-
Within the “Settings”, locate the “Underlay window” section, select the background window you’ve created within the “Bottom” drop-down list. By doing so, all objects within the background window will be positioned beneath the objects on this base window. It’s important to note that you can add multiple underlay windows:
-
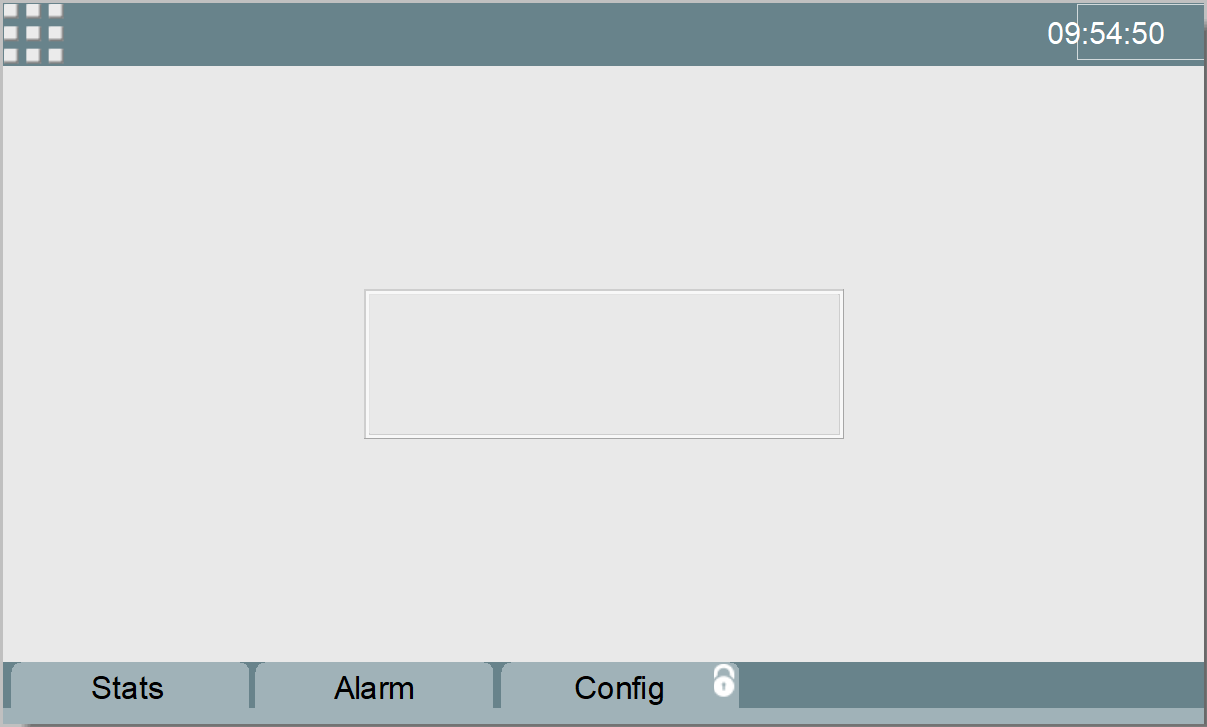
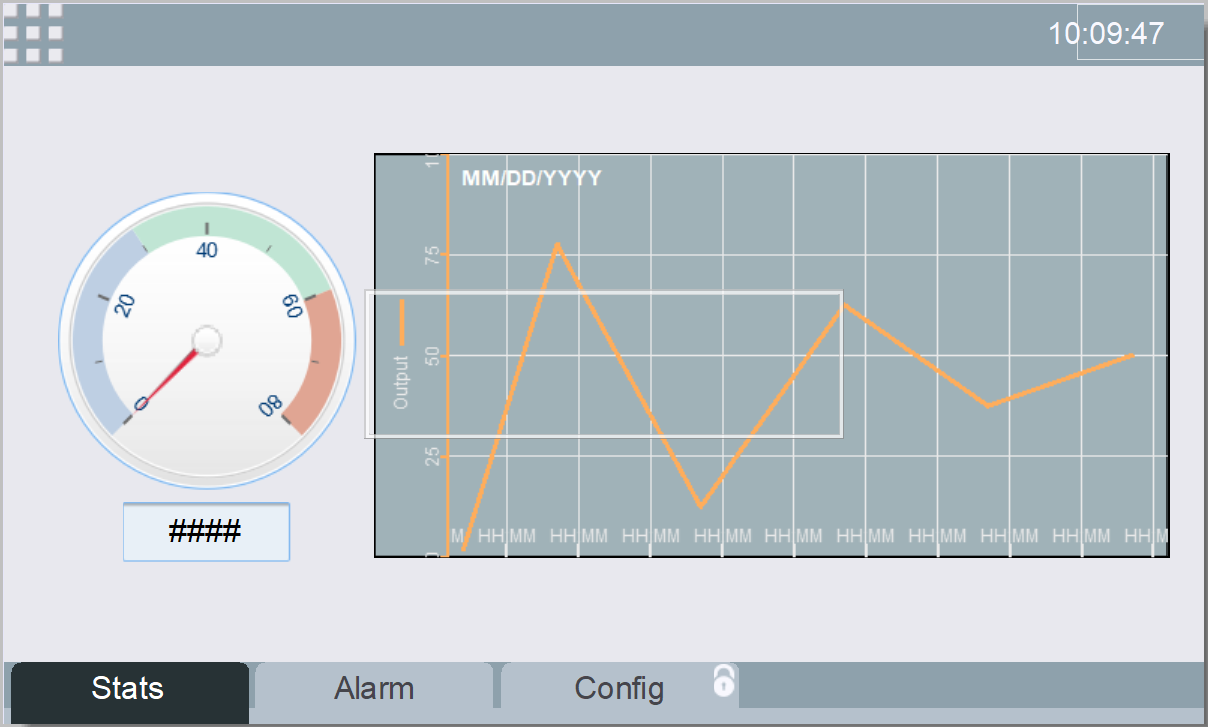
In the example below, you can observe how the base window now incorporates the text and shapes from the background window (bottom underlay window). However, any objects created within the base window will always appear above the background:
Note: The “Meter display” and and “Trend display” objects were placed on on the main window and as such display above the background.