Introduction:
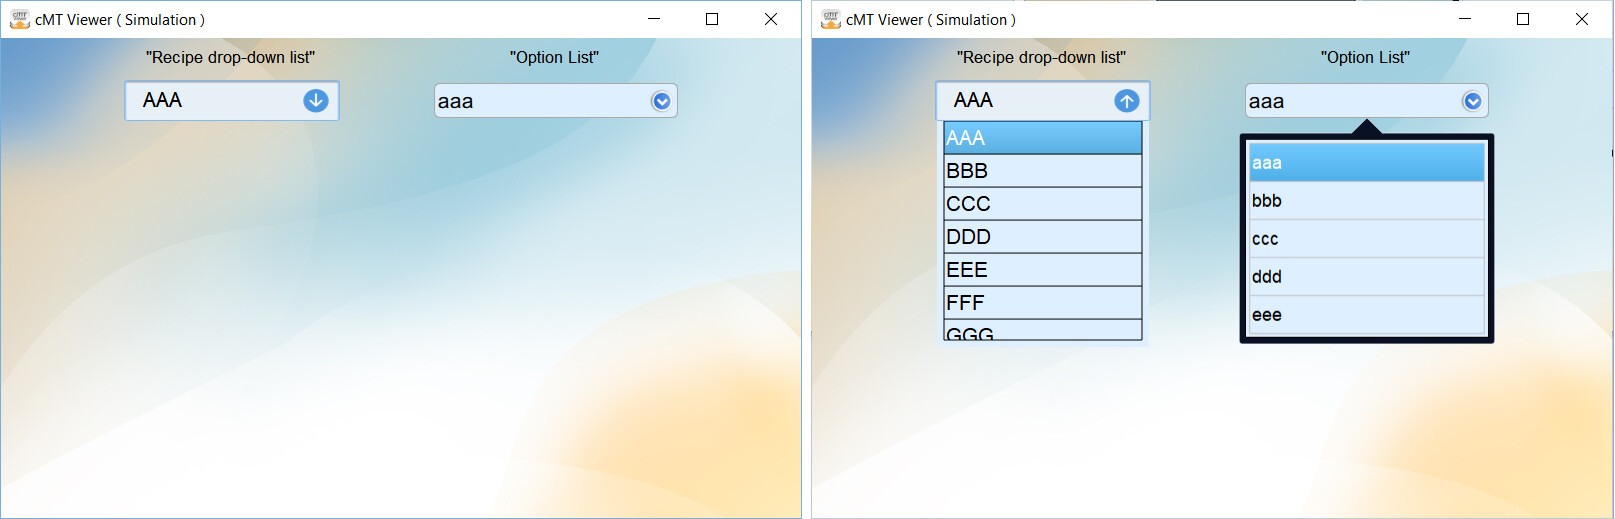
By default, the “Option List” object in EasyBuilder Pro does not integrate with the “Recipe database”. Therefore, in order to make what is often called a “Recipe drop-down list” we will use the procedure described below.
Software Version:
EasyBuilder Pro 6.06.01.332+
Demo:
v1.0 ![]()
*requires 6.09.01.322+
Related Tutorials:
How to configure a dynamic Option List (List box)
How to search for or filter items within a recipe database
How to export or import a recipe as a .csv from a USB
Video - Recipe Database Basics in EasyBuilder Pro
Instructions:
-
Within the “Data/History” tab, create a new “Recipe View” object:
-
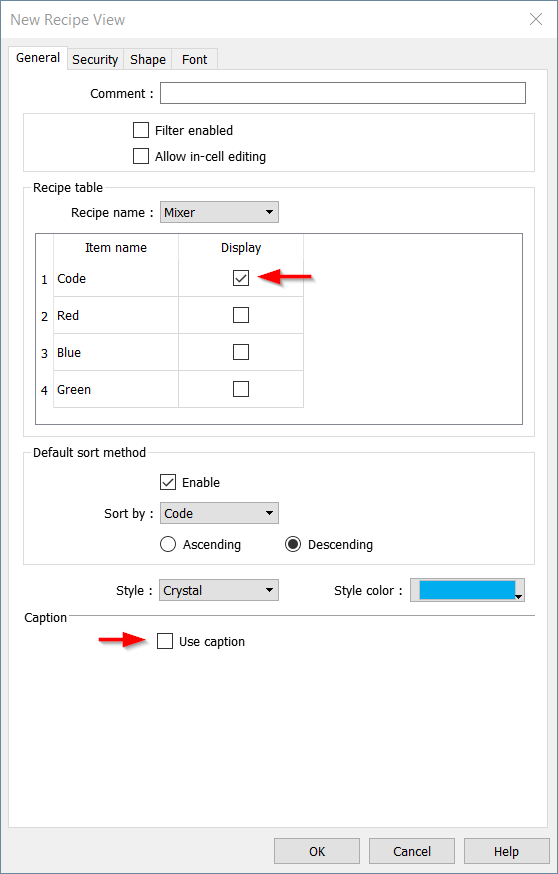
Ensure that only one recipe item is selected and disable “Use caption”:
-
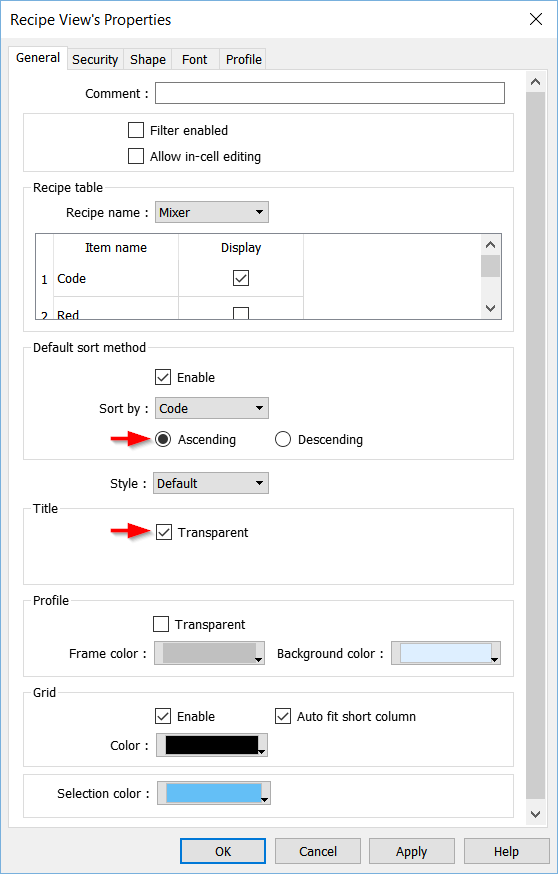
[Optional] To produce a list-like object that closely resembles the “Option list”, I recommend using the settings defined below:
-
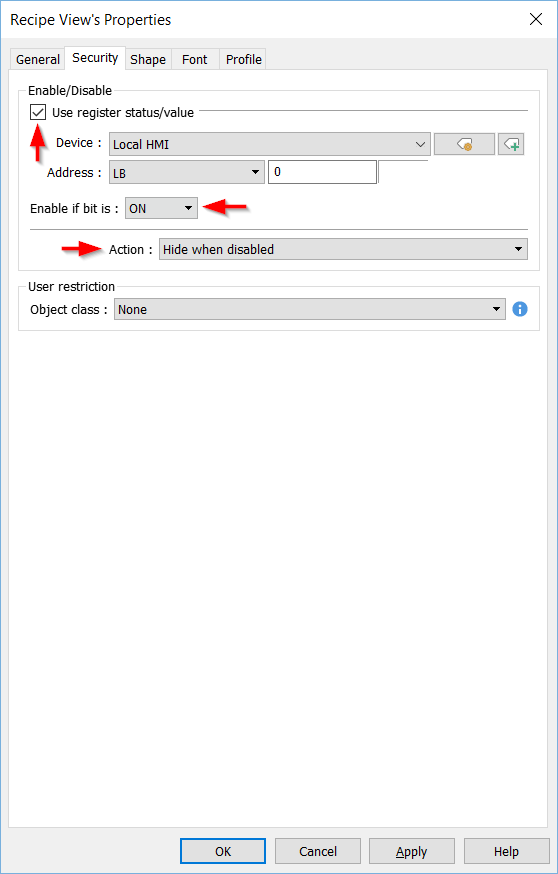
Within the “Security” tab select “Use register status/value”, select an available “LB” address, and ensure the “Action” is set to “Hide when disabled”:
Note: Select “Enable if bit is ON”.
-
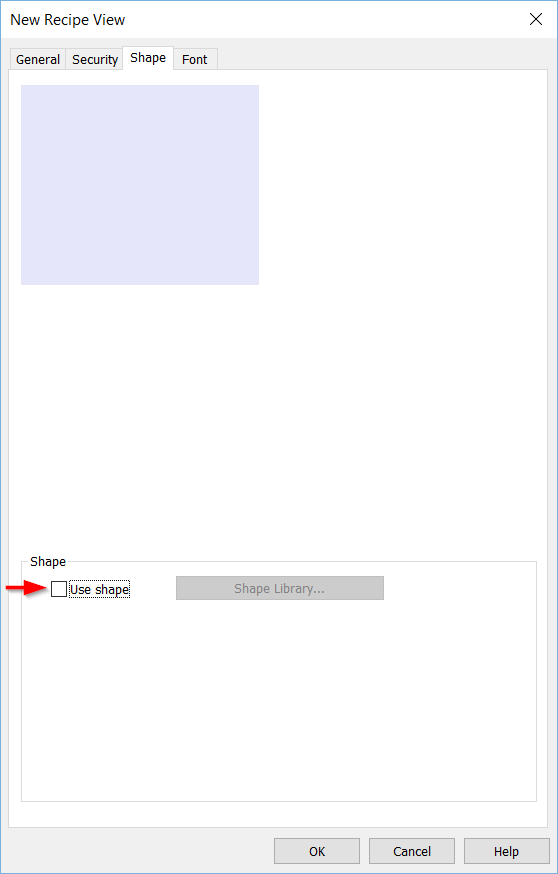
Within the “Shape” tab, disable “Use shape”:
-
Click “Ok” to place this object:
-
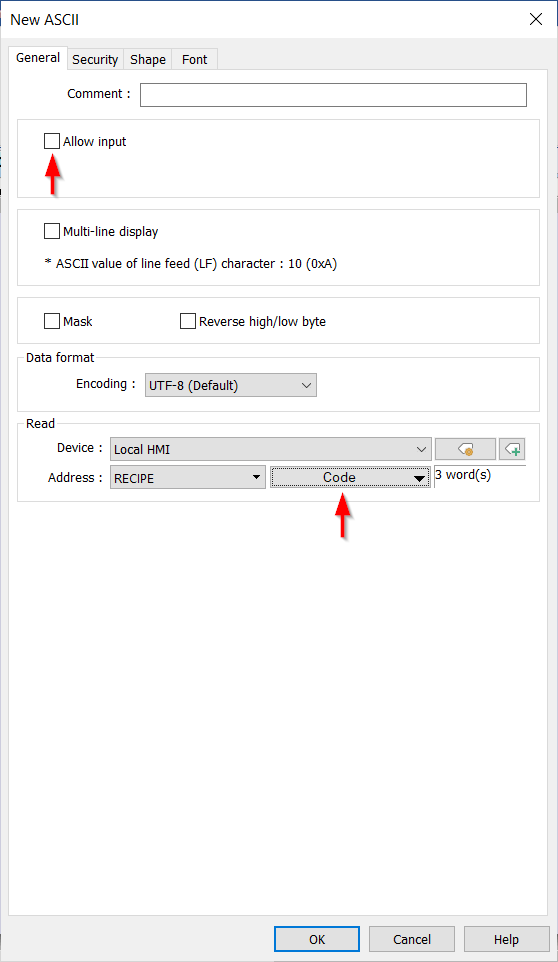
Within the “Object” tab create a new “ASCII” or “Numeric” object:
-
Disable “Allow input” and ensure that the desired recipe value will be displayed:
-
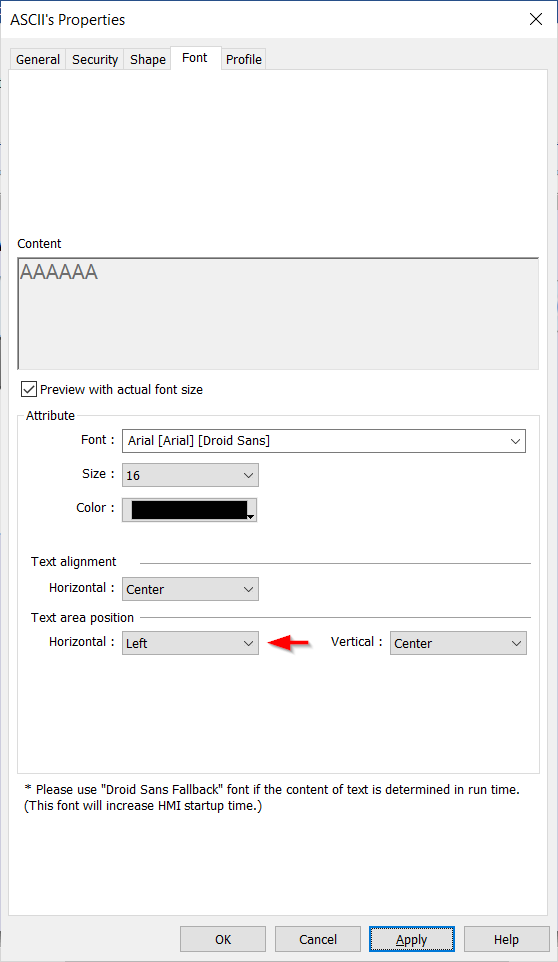
Within the “Font” tab of this object, ensure that the “Text Area position” is set to “Left” as shown below:
-
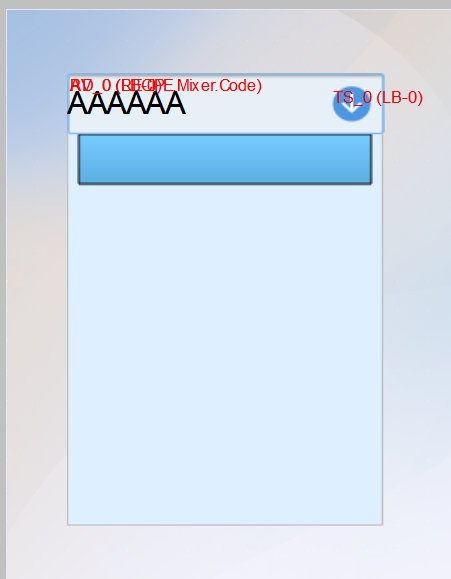
Click “Ok” and place this object over the option list’s column title:
-
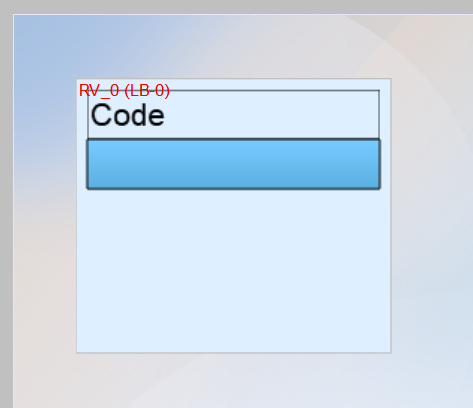
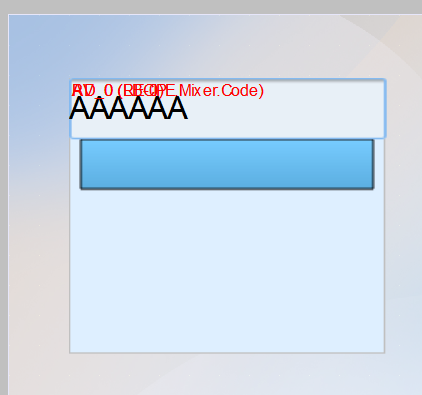
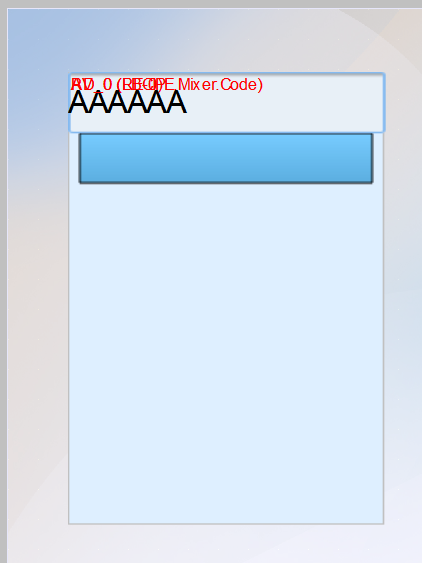
Expand or contract the “height” of the recipe view object to determine the length of the “Recipe drop-down list”:
-
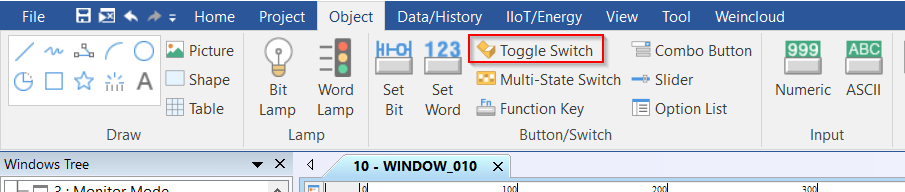
Within the “Object” tab create a “Toggle Switch”. We will use this object to open and close the drop-down list:
-
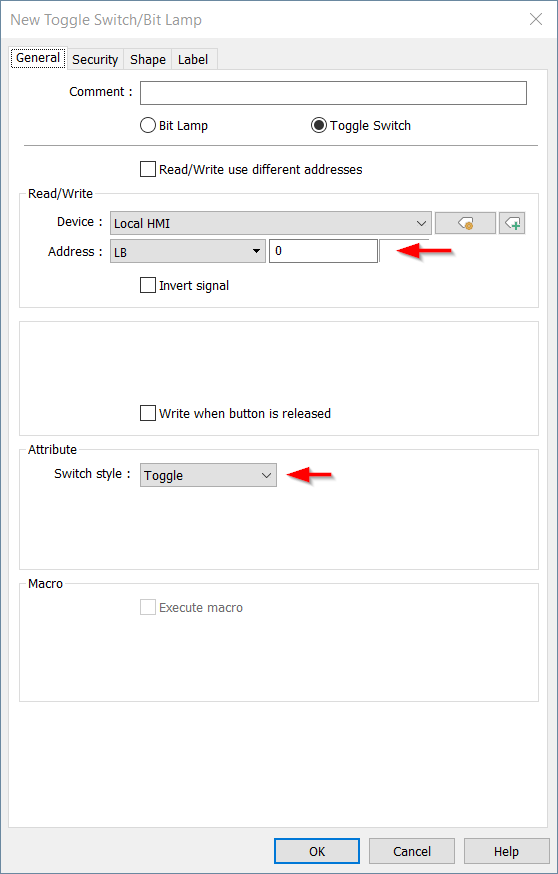
Ensure that this object targets the “security” address used in step 4 and that the “Switch style” is set to “Toggle”:
-
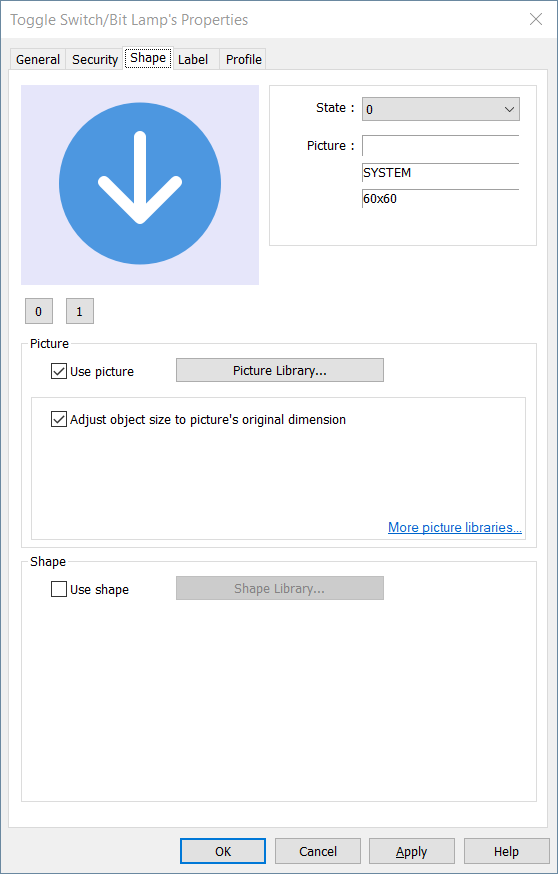
Within the “shape” tab choose an appropriate image for this object, I recommend using a set of alternating arrows:
Note: To define an object’s image, please review 0:48 - 1:36 of our “Multi-States” tutorial.
-
Click “Ok” when finished and place this object on the right side of the “ASCII” object: