Introduction:
Within this post, we demonstrate how to import and export data within your “Recipe Database” to and from an external storage device in the form of a .csv file.
Software Version:
EasyBuilder Pro 6.04.02.349+
Related Tutorials:
Video - How to upload an HMI project file using a USB or SD Card
Video - How to backup historical data as a csv within EasyBuilder Pro
Video - Recipe Database Basics in EasyBuilder Pro
Instructions:
-
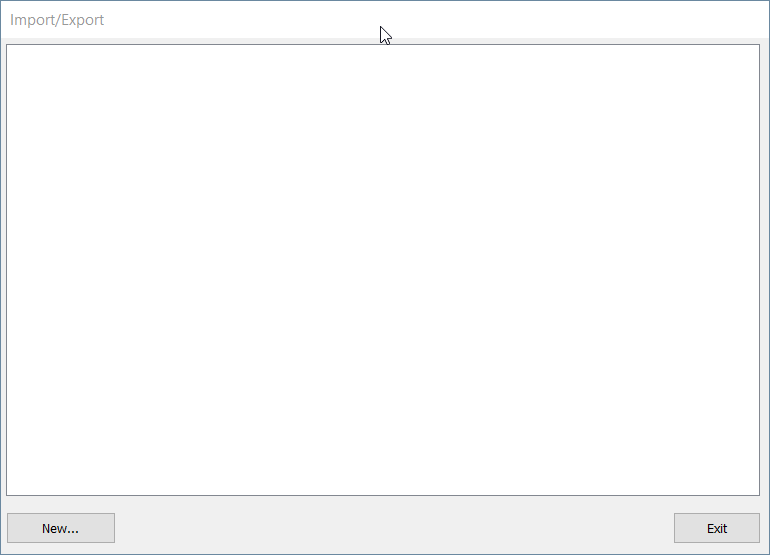
In the “Data/History” tab go to “Import/Export”:
-
Select “New” at the bottom of the window. Note that this window is where we will see all existing “Import/Export” objects.
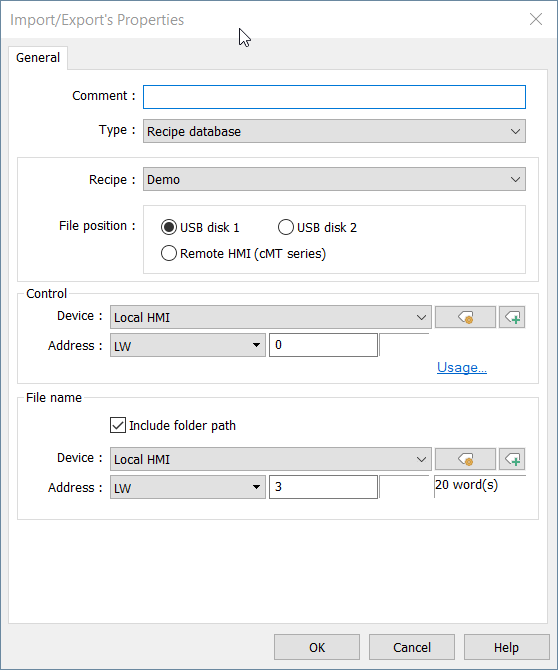
-
In this window, make sure the “Type” is set to “Recipe Database”, and the correct recipe is selected within the “Recipe” drop-down list. Within this example, we’ll set the “Control Address” to LW-0 and the “File Name Address” to LW-3. Make sure the “Include Folder Path” button has been checked:
-
Create a “File Browser” object. This object isn’t necessary for file export, but rather a way to display files that have been added to our external storage device:
Note: This object will also allow you to easily select and import recipe files that exist on a connected USB drive. We discuss this topic here.
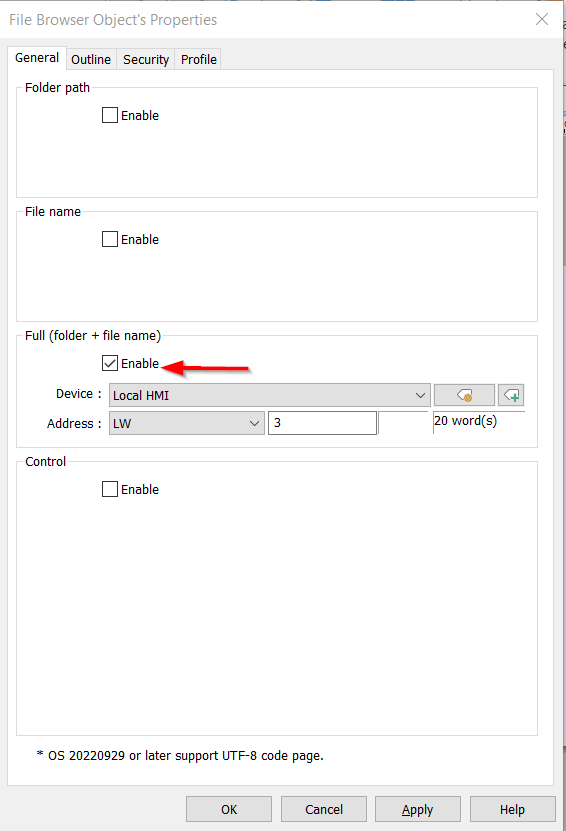
-
Within this example, we’ll configure the Full (folder+file name) address within the “File Browser Object” to LW-3. However, this address should match the “File Name Address” configured within step 3:
-
Click “Ok” when finished.
-
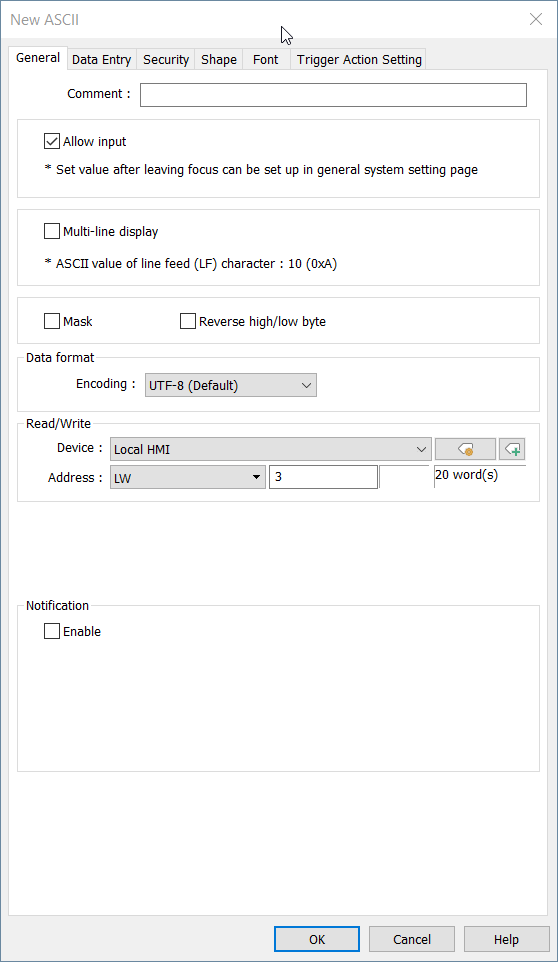
Within the “Object” tab click “ASCII”. Within this step, we’ll create an object that will allow you to enter a file name:
-
Configure the “address” of the ASCII object to LW-3 or the address that was used within step 3. Ensure that this object is configured to display 20 characters or 10 words:
Note: Within this post, we demonstrate how to modify the character length of an ASCII object.
-
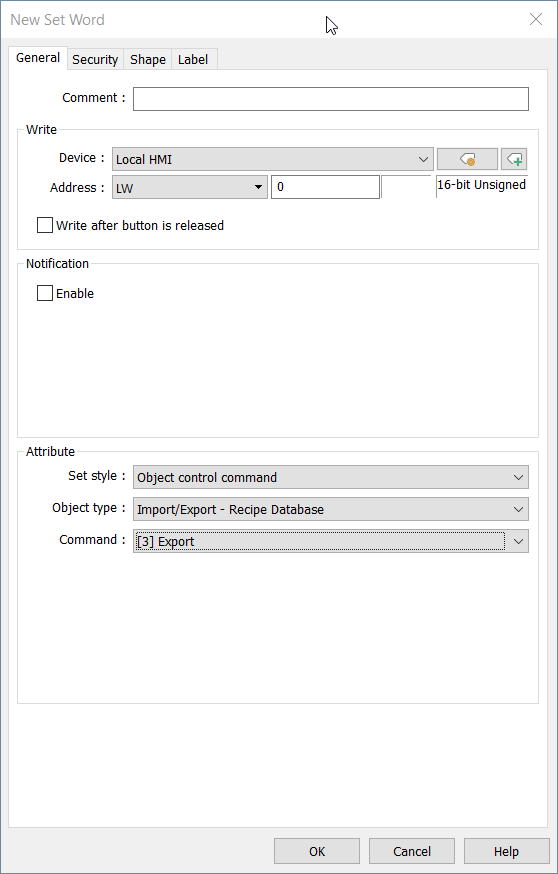
Next, click on “Set Word” within the “Object” tab:
-
Configure, the “address” to LW-0 or the address used as the “Control address” in step 3. Set the “Style” to “Object Control Command”. Then, set the “Object Type” to “Import Export - Recipe Database” and the “Command” to “Export”:
-
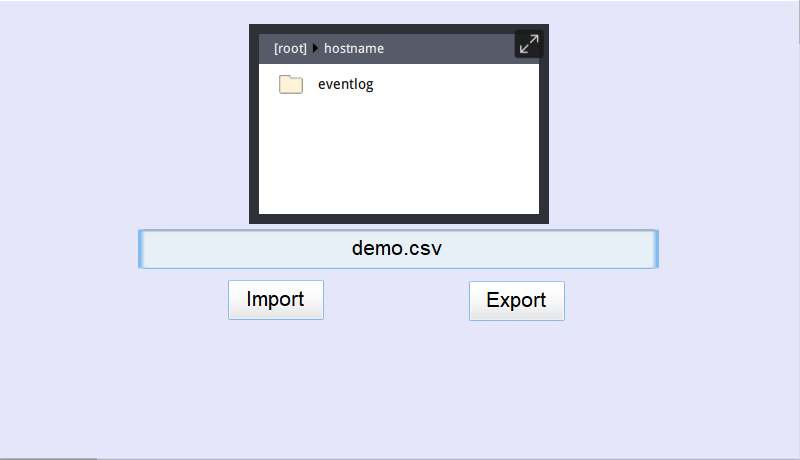
Now, you can export a recipe as a .csv file by appending “.csv” to the end of the name you configure during runtime:
Note: After entering a file name, be sure to hit the “Enter” key.


Importing Recipe
-
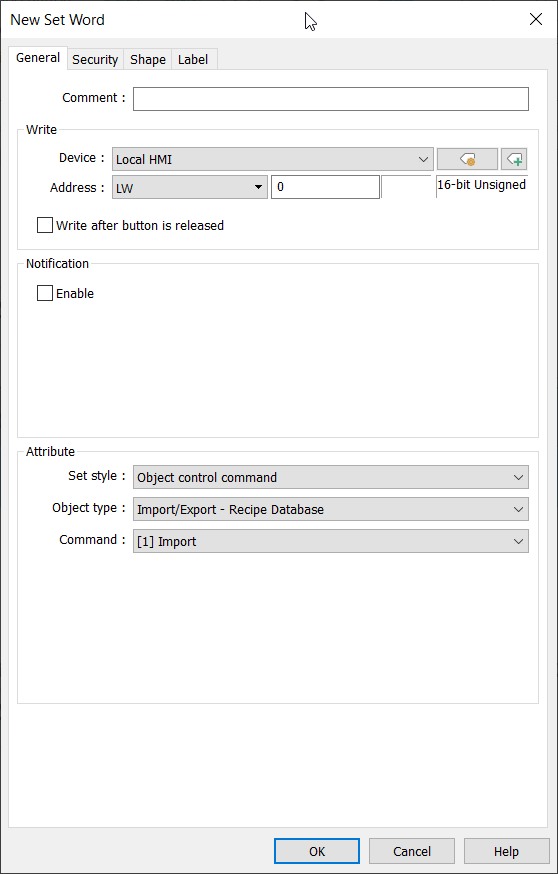
To import a recipe file within your project, you’ll need to add an “Import” control command by creating an additional “Set Word” object within the “Object” tab.
-
Use the method described within steps 9 - 10 above and ensure that “Set style” is configured to “Object control command”. Then, specify the “Object type” as “Import/Export - Recipe Database” and select the “Import” command.
-
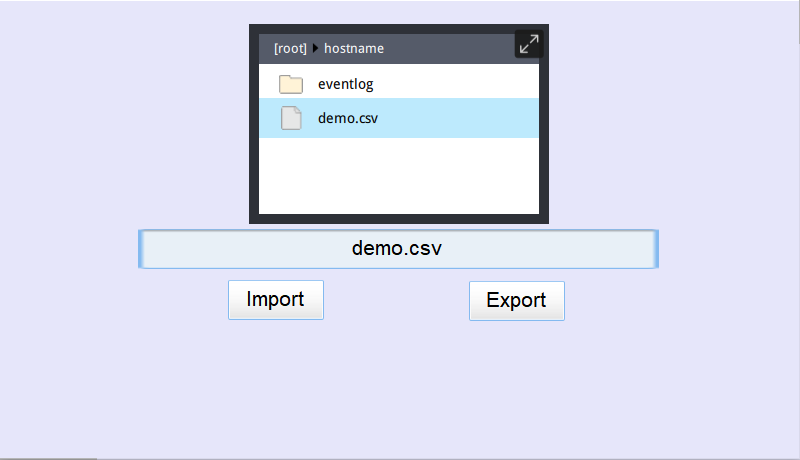
During runtime, you can import a recipe that you select using the “File Browser” by clicking the “Import” button:
Keywords
recipe, recipes, export, import, csv, .csv, usb, drive, thumb drive, flash drive, storage, database, file browser