Introduction:
In this guide, we will delve into the creation and utilization of alarms, providing insight into their functions and how to display them effectively within your project.
Software Version:
EasyBuilder Pro 6.03.02.463+
Instructions:
-
First, we will create a new “Event (Alarm) Log”. This object can be found in the “Data/History” tab:
-
Select the “New” button to create a new event:
-
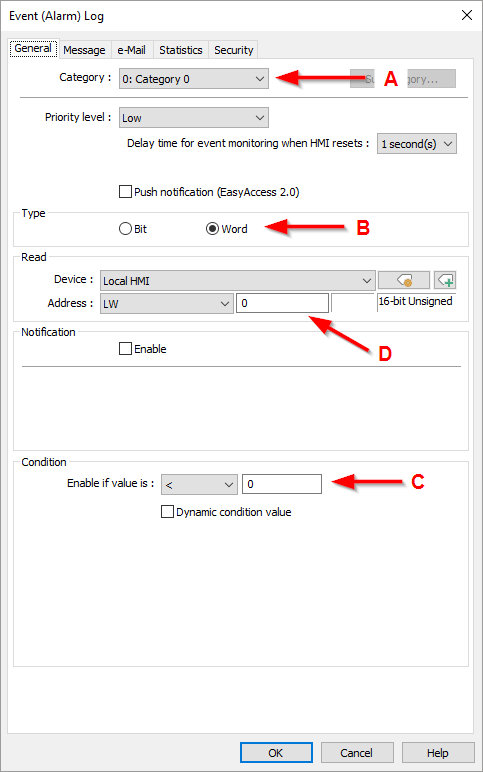
Within the “General” tab, you can fine-tune your alarm settings. This includes selecting a “Category” (A) and a (B) “Type”. When finished, define the (C) “Condition”. This condition will activate the alarm if a value within the ( D) “Read” address meets the specified criteria:
-
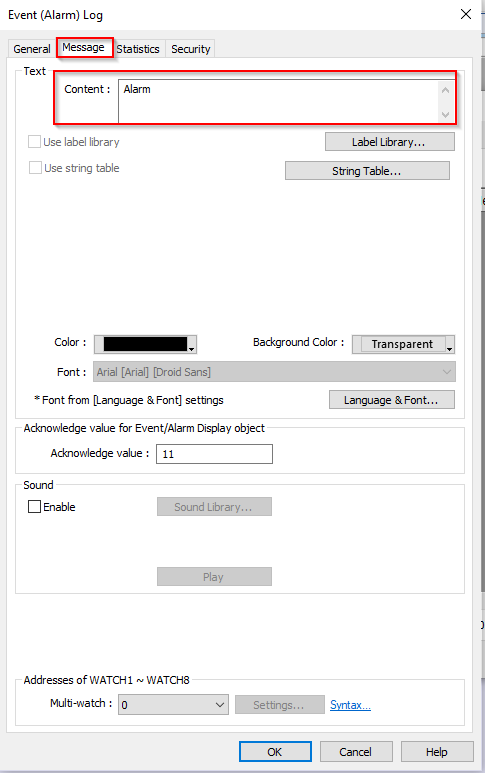
Next, navigate to the “Message” tab, and within the “Content” box, write the message you want the alarm to display:
-
After setting up your “Event (Alarm) Log”, we will create an object to display each alarm that you’ve configured. Within the “Data/History” tab you can select “Alarm Bar”, “Alarm Display” or “Event Display” to display alarms. Within this demonstration, we will use an “Alarm Bar”:
-
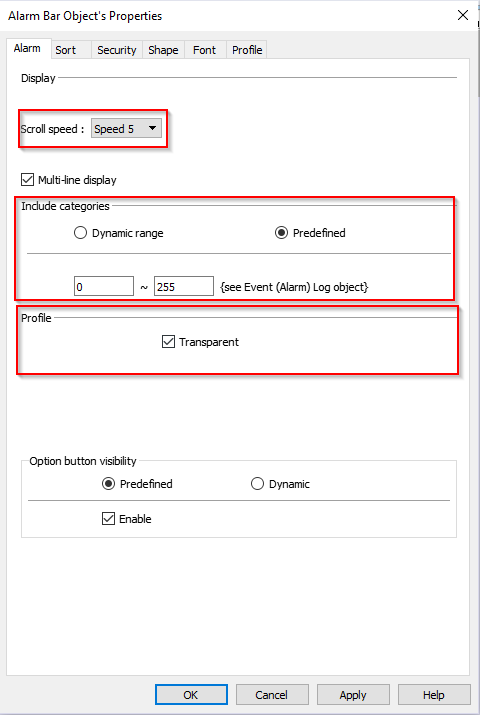
Within the “Alarm” tab of the “Alarm Bar” object’s settings menu, you can modify the “Scroll Speed”, what categories are displayed, and the transparency of the bar:
-
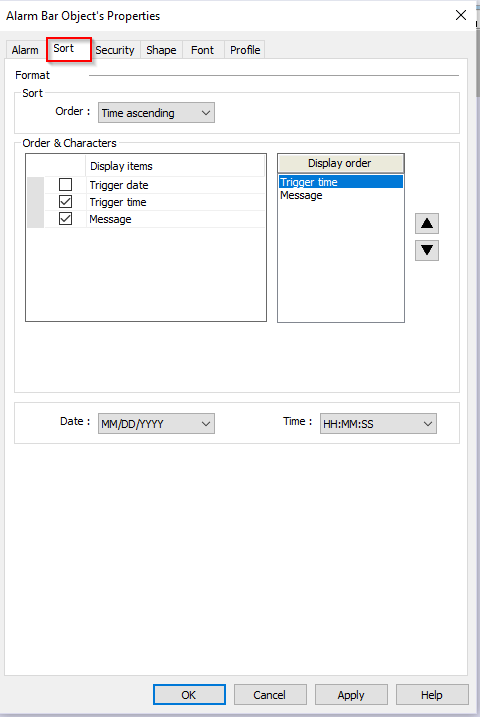
Within the “Sort” tab you can define what data is displayed relative to an alarm within the “Alarm Bar”:
-
Now, your alarm bar should be configured to display alerts from your “Event (Alarm) log”!